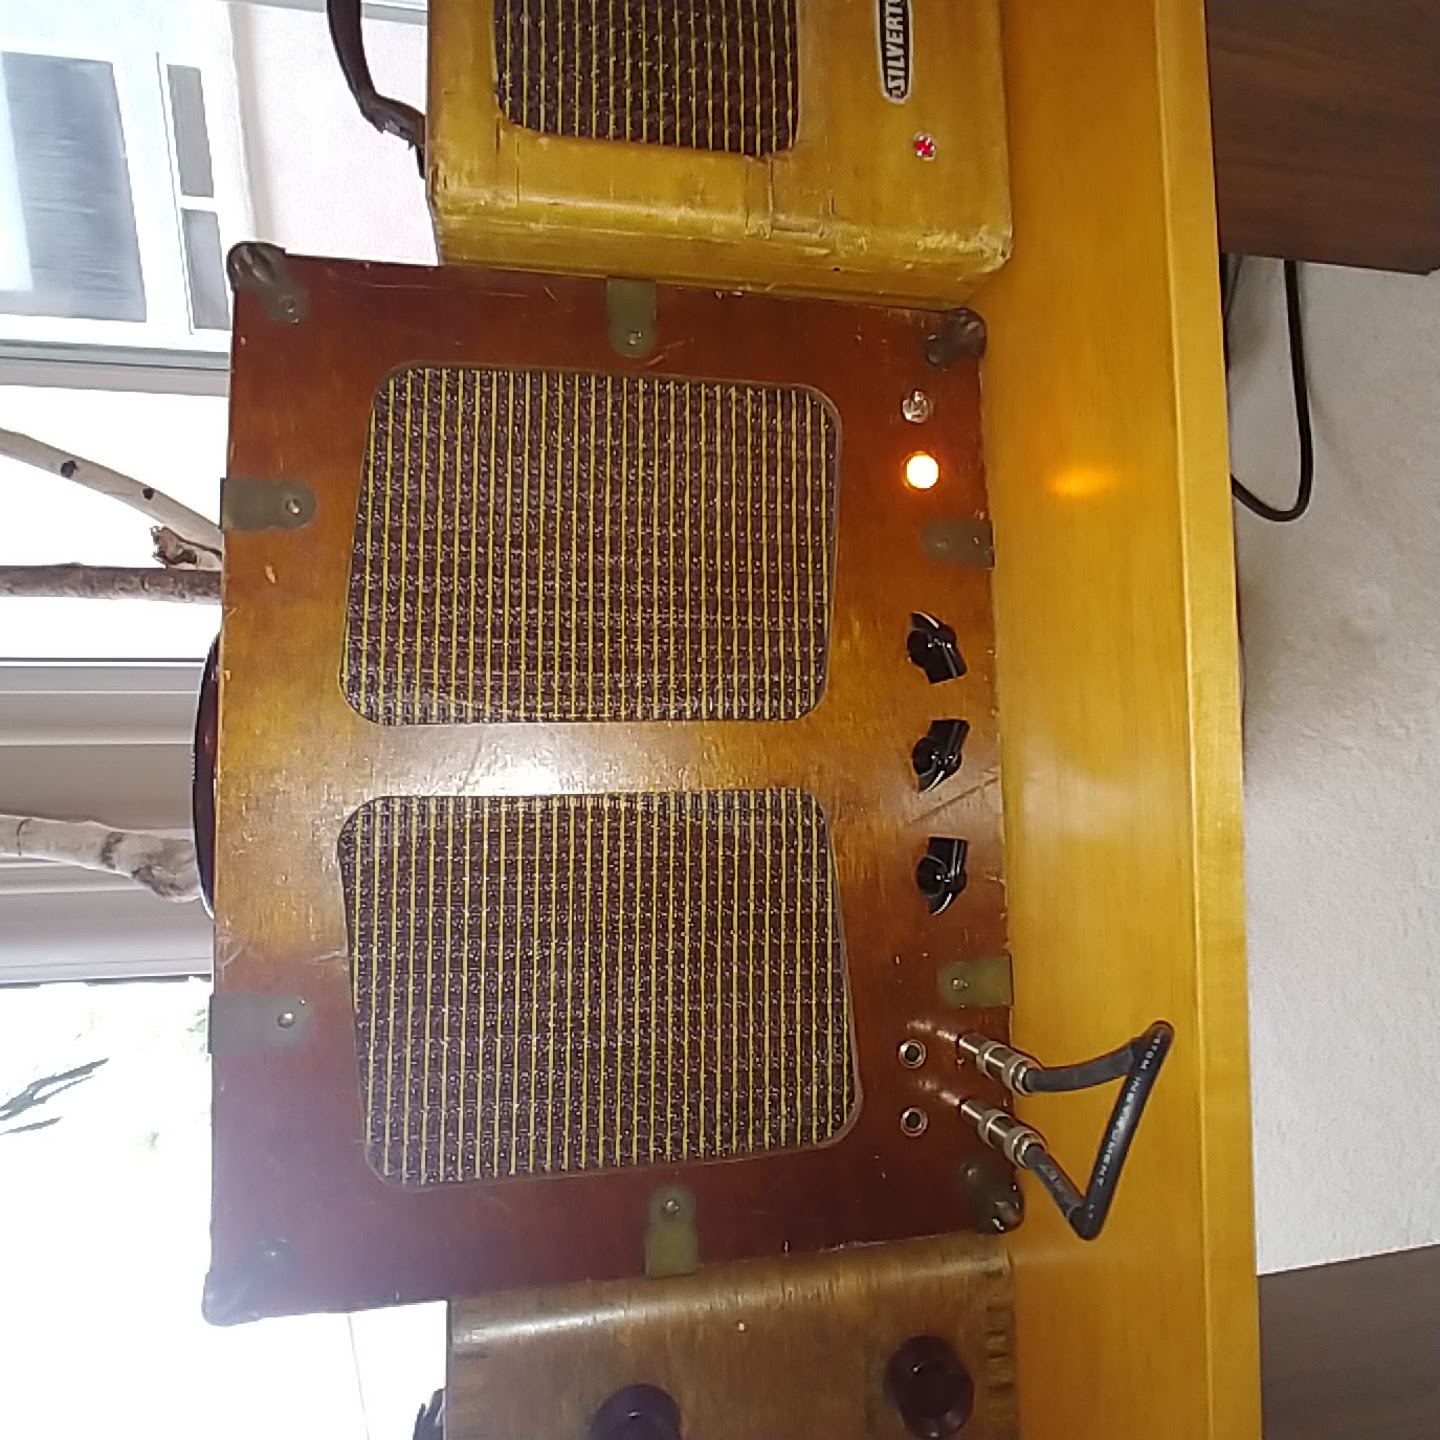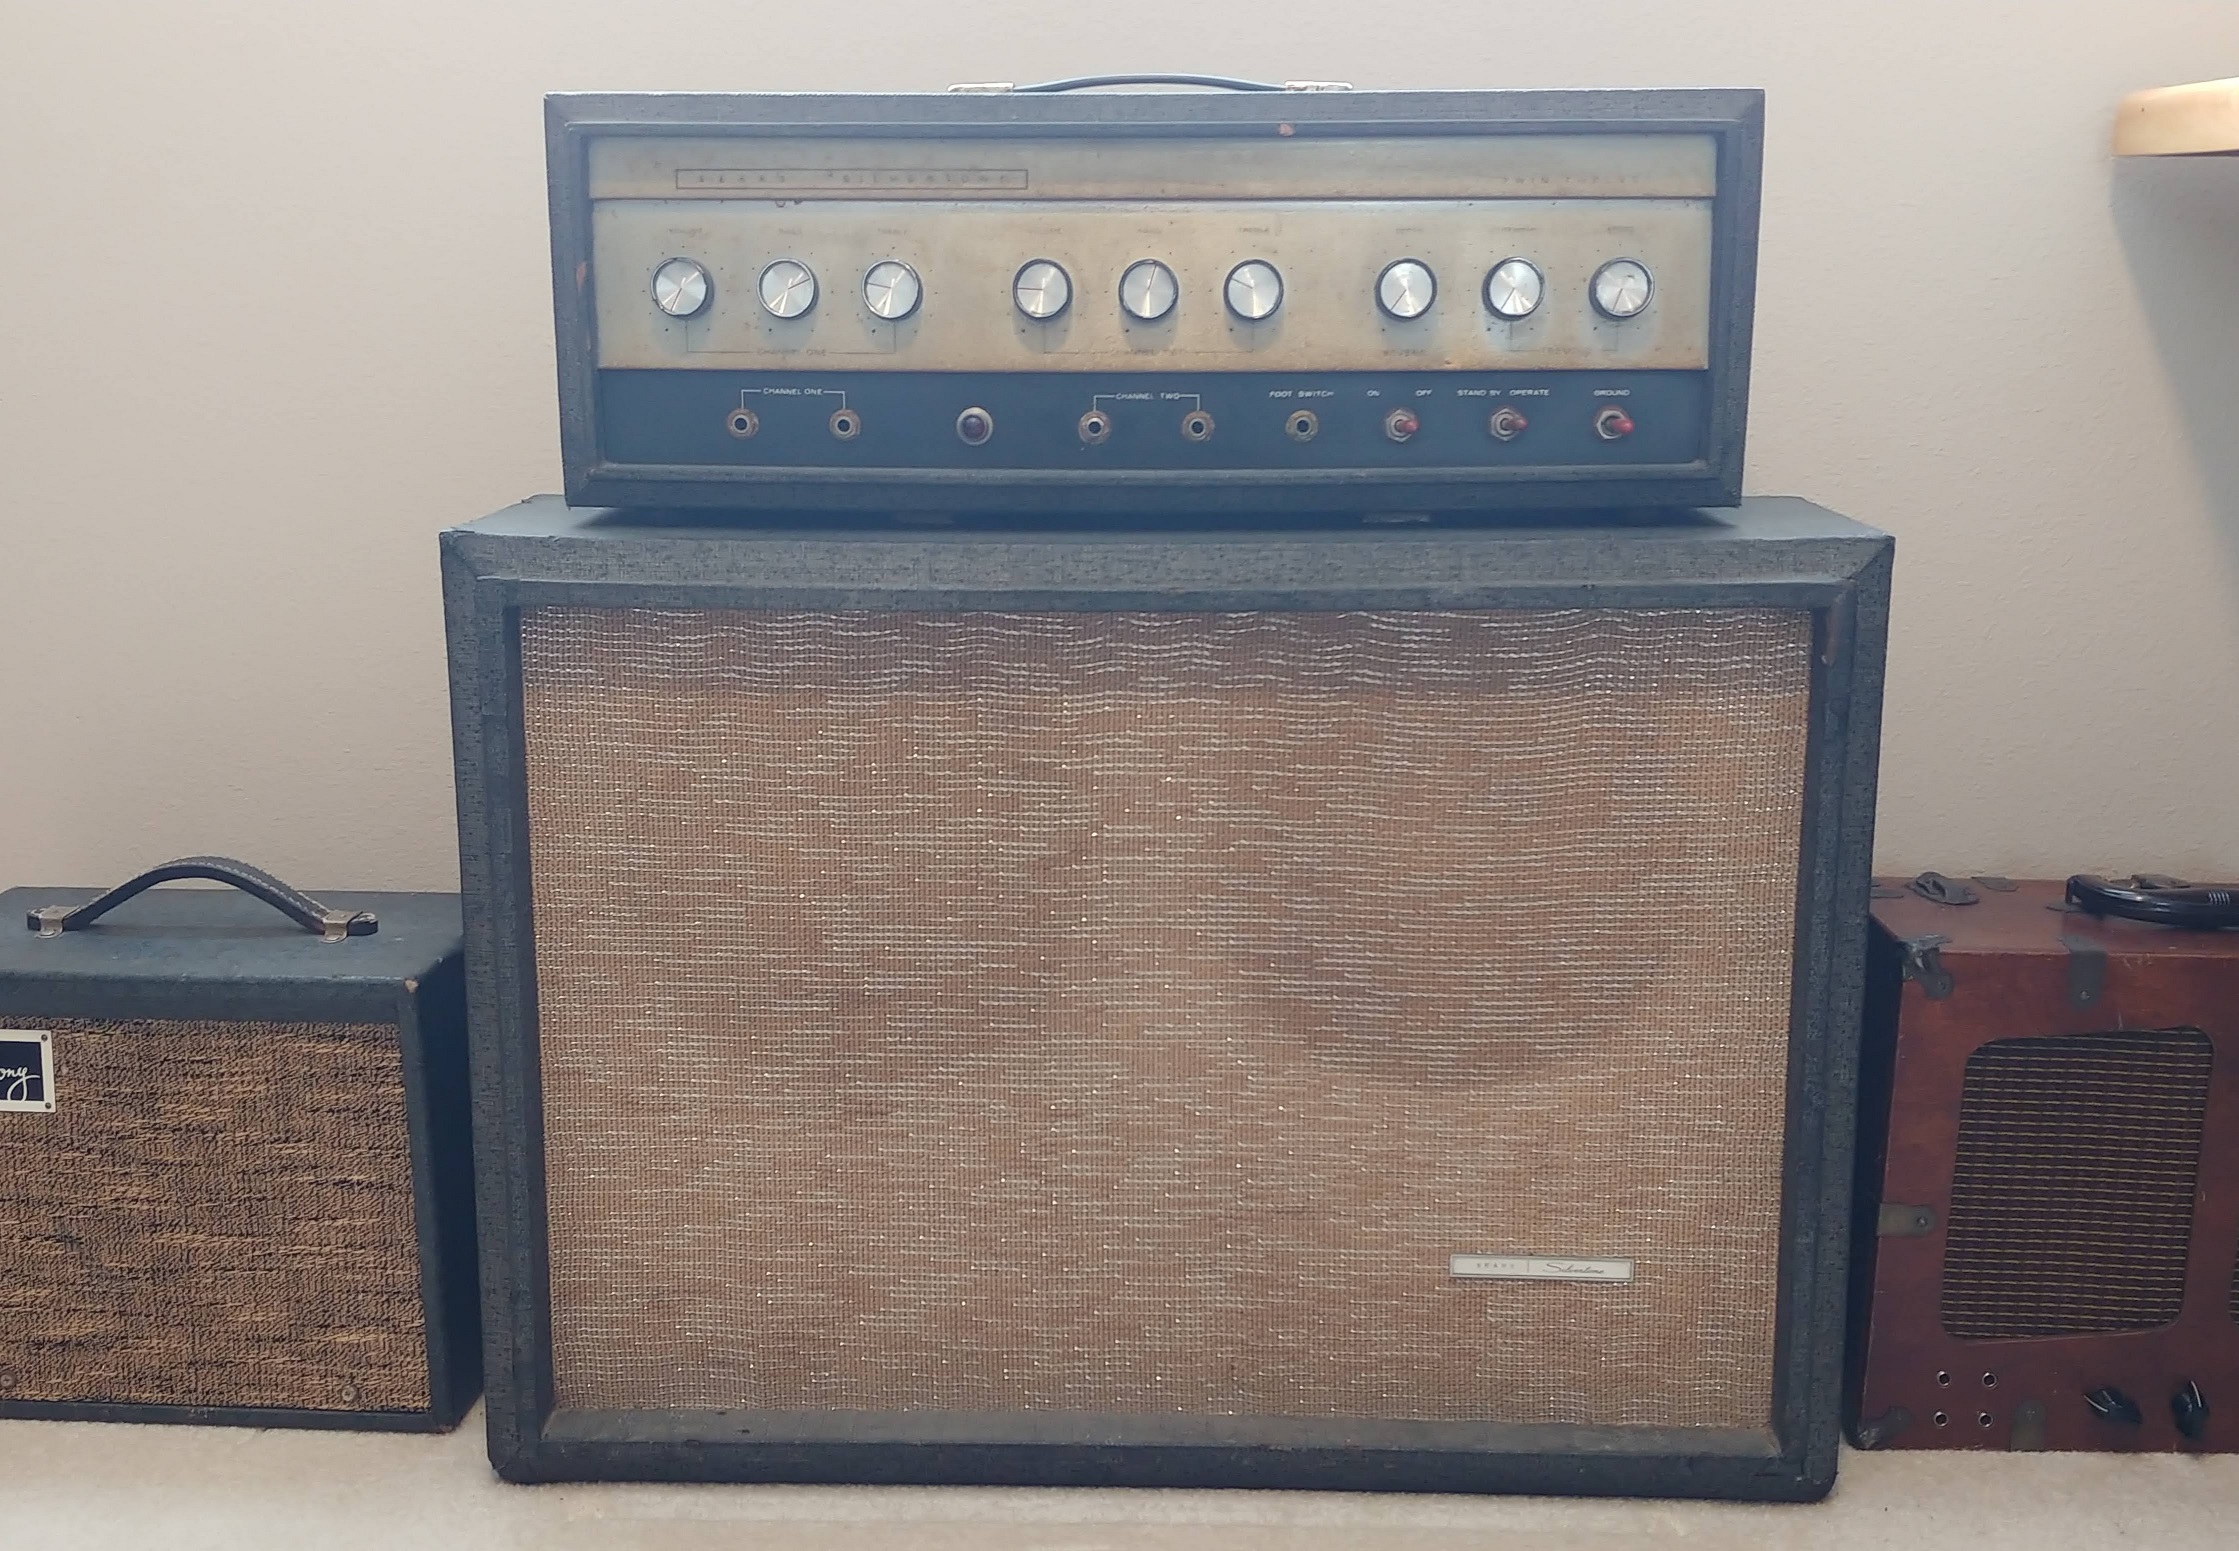
Overview
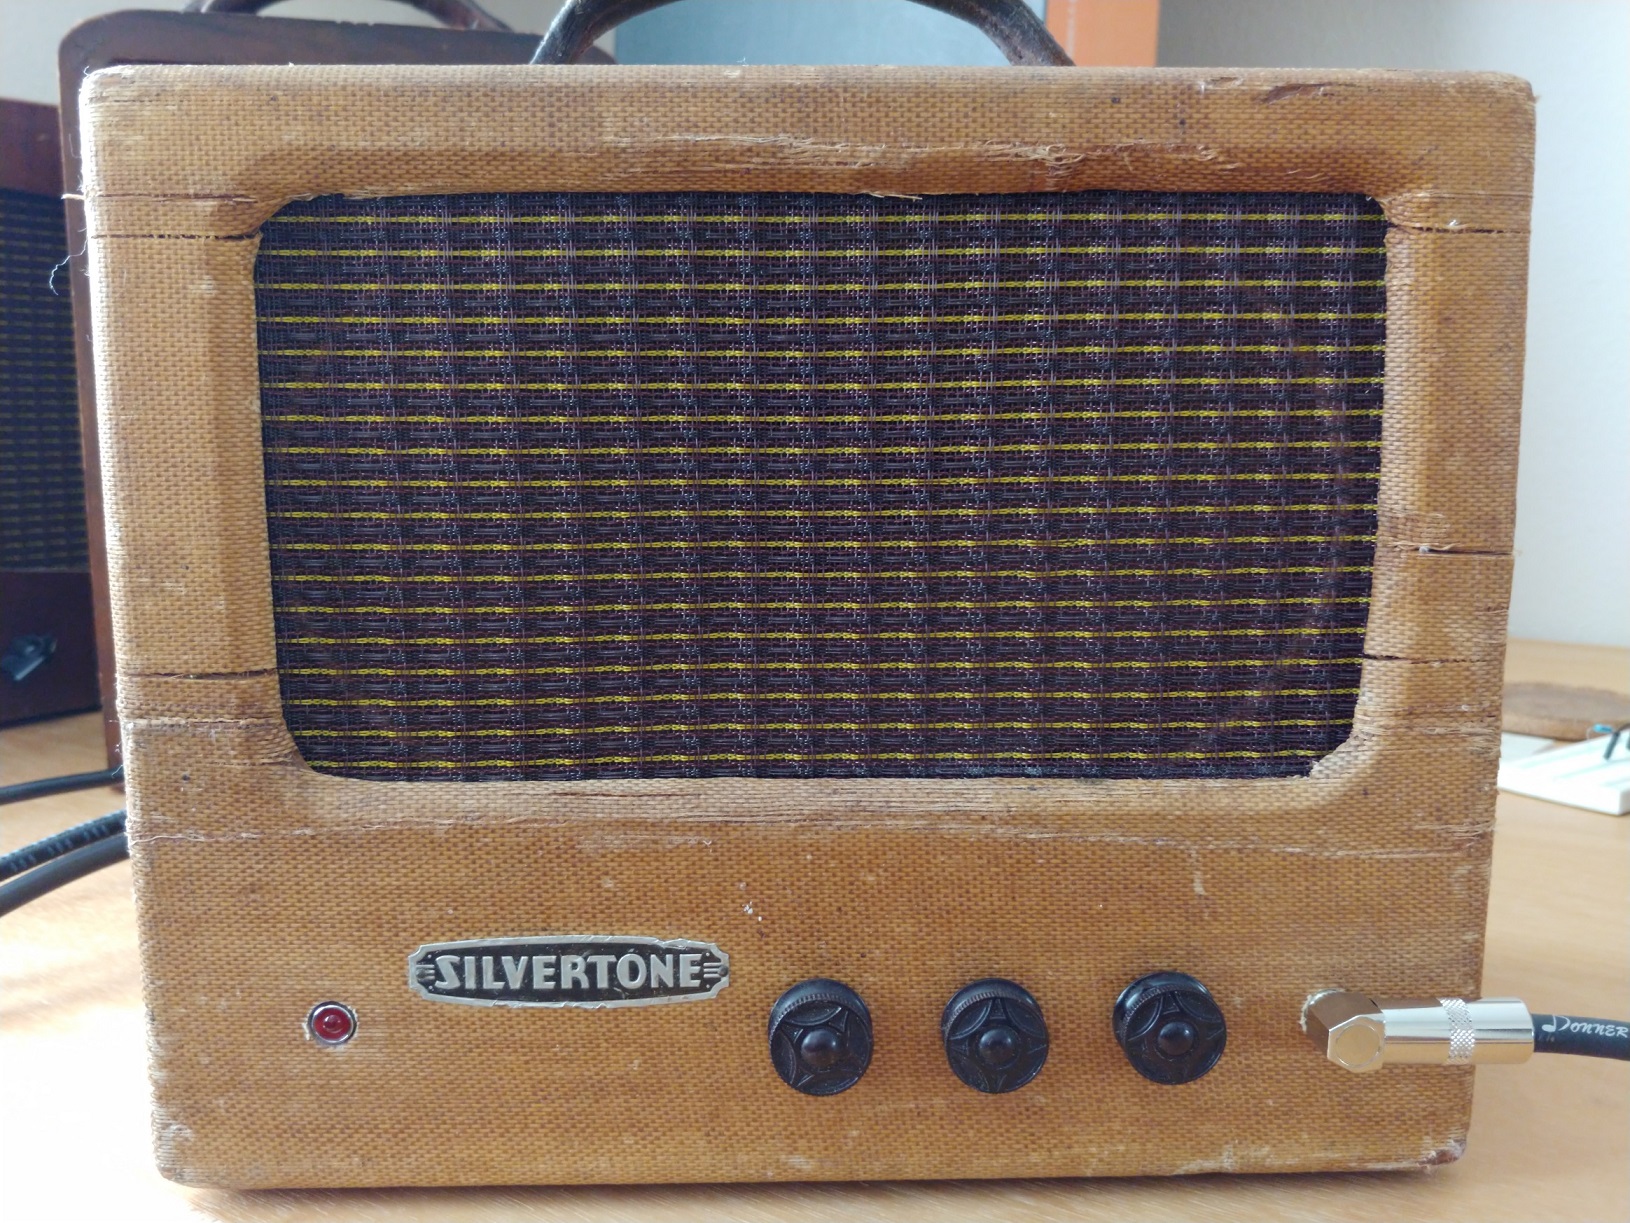
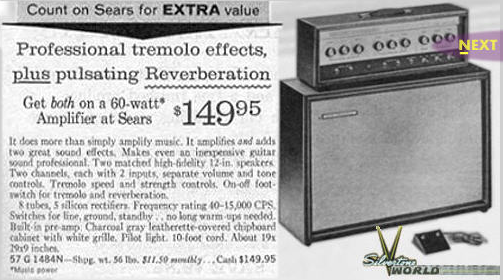
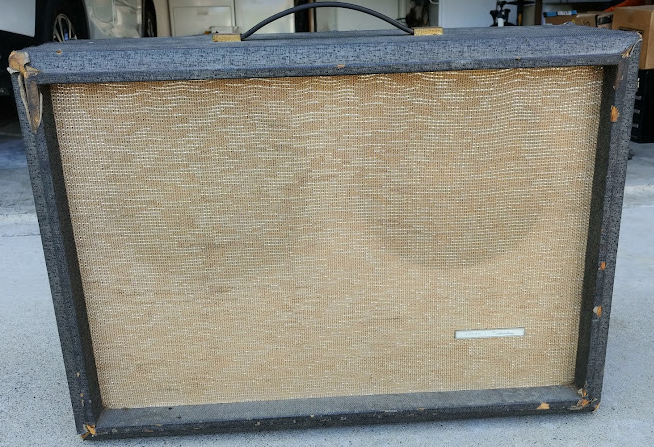
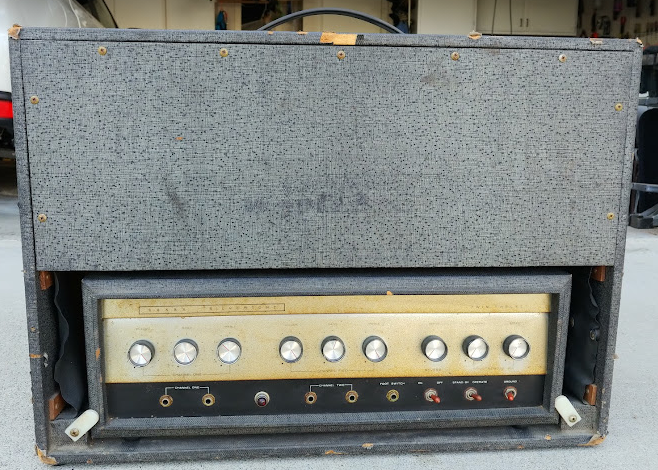
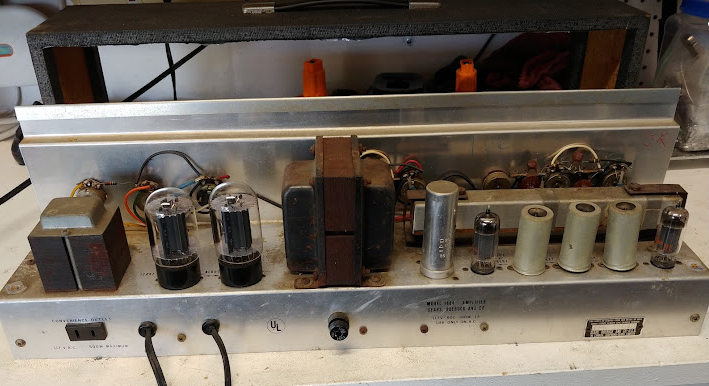
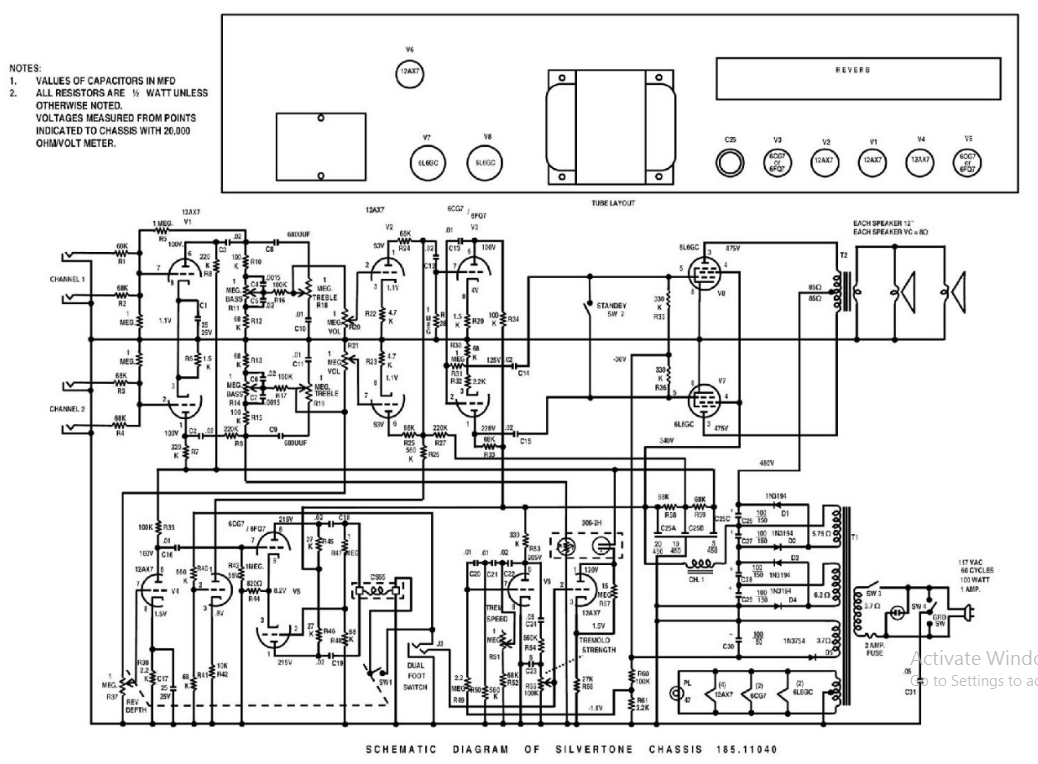
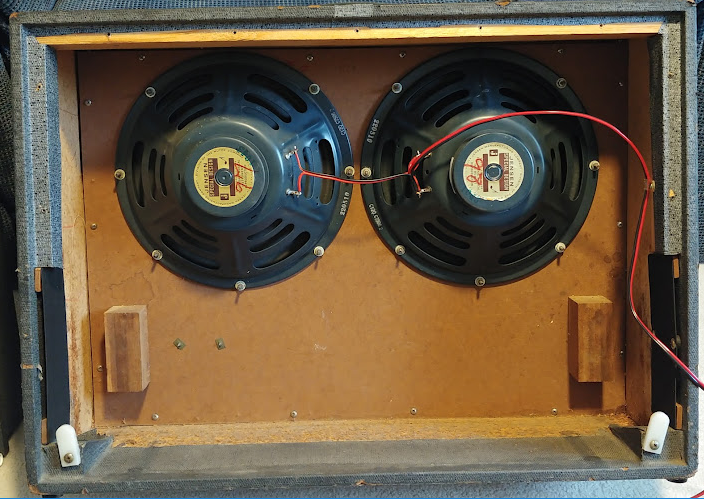
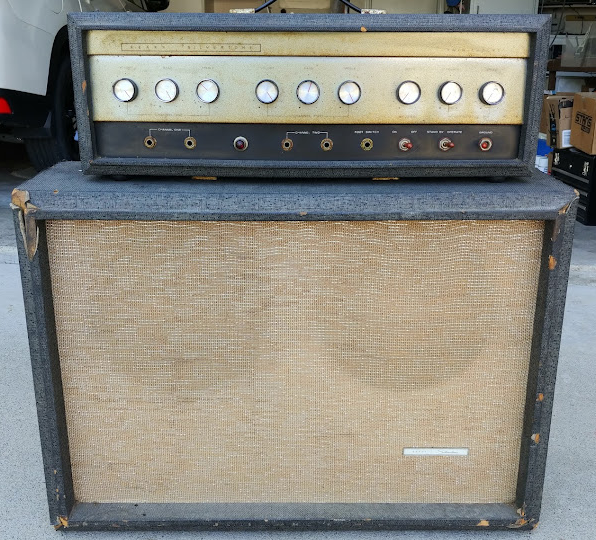
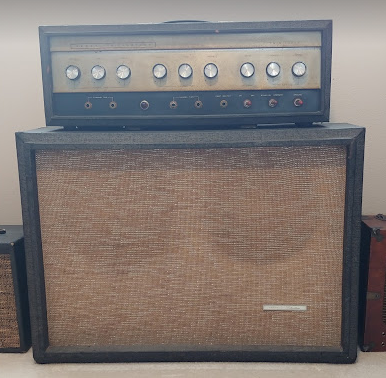
The Silvertone 1484 is a guitar amp from 1966. It is an all tube head with tremolo and reverb. The head produces somewhere around 45 watts with a pair of 6L6 output tubes. Two channels are provided each with two inputs so that they can be patched together for a combined sound. Channel one is normal while channel two offers a switchable reverb and tremolo. The speaker cab is a 2x12 featuring original Jensen ceramic 12 inch speakers. One speaker was not was not working when received and this was re-coned to original perfection. Both speakers sound great. After all the repairs on this amp it sounds exceptional with everything working great and looking really good with nice patina looking really good but not ratty.
As Received
The Silvertone 1484 was received with many problems that needed to be addressed. It did not play well with some low volume issues and odd sounds. As well one of the speakers was damaged, the reverb did not work and the cabinet had seen its better days.

Reverb Rebuilt
Many people claim that once a '60s Silvertone reverb stops working it is not repairable. This is not true as the reverb in this amp was disassembled and restored to its original glory. It sounds great as a short single spring unit.

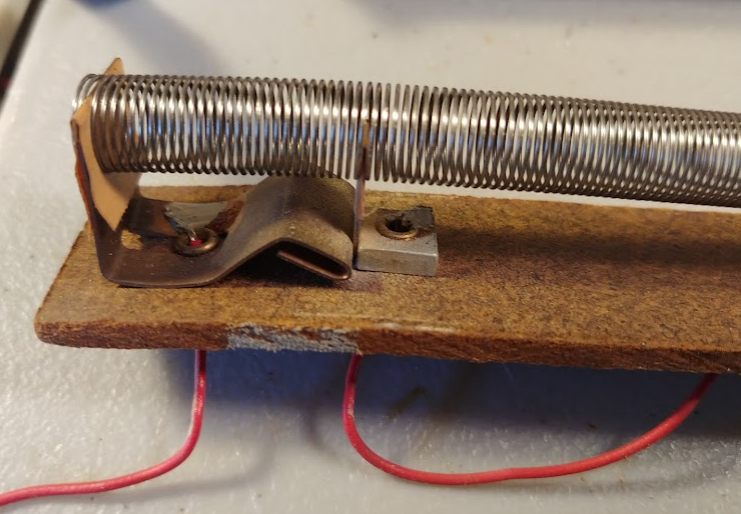
First Step is to remove the reverb from the amp. Cut the wires leaving a portion in the original position so that it can be soldered back into place.
Carefully remove the original “duct” tape so that it can be reused by tacky glue back in place during assembly.
And there it is, all paper insulators were fragile and dried up after years and years of use. The center spring tension string also had broken and one end of the spring had slipped off its holder, which is likely why there was no reverb.
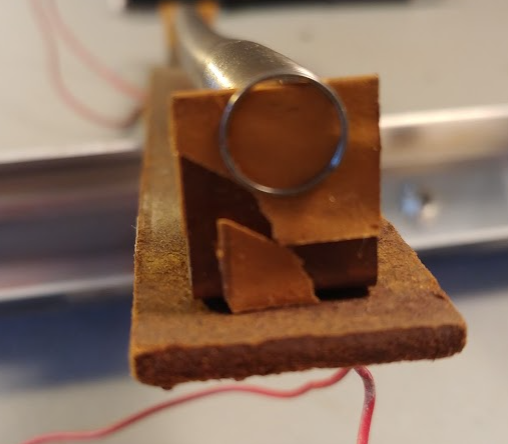
Using a card stock in the same size to replace all the insulators. New thread was used for the spring center tie down. Good as new
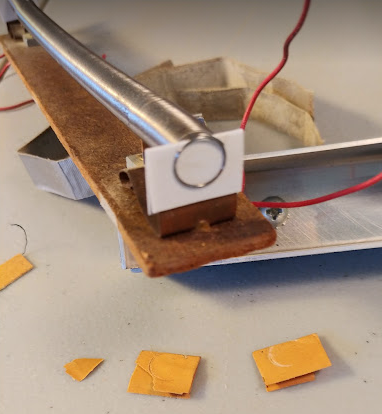
During bench test connected to the amp, the spring floating length is adjusted at each end to get the best reverb sound. Sounds great! Shimmery and competes well with the pedal reverb units.
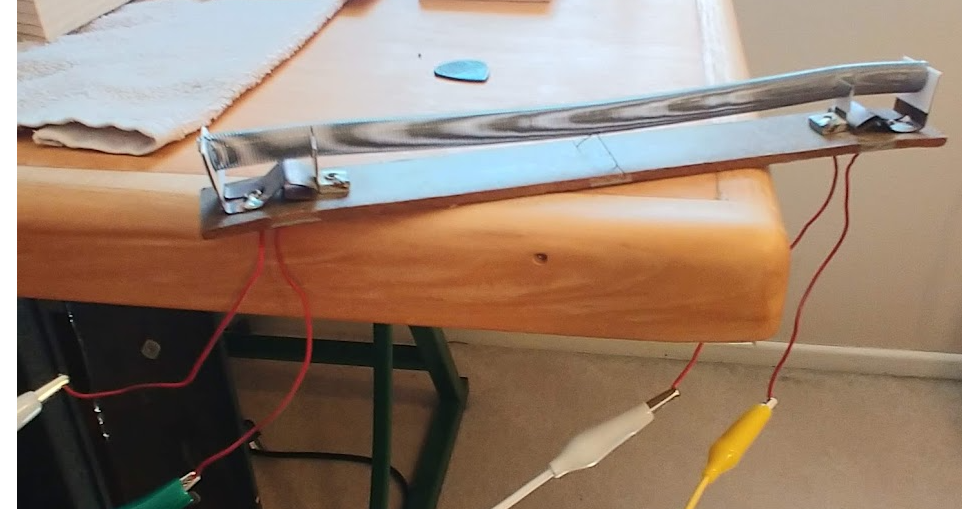
Reassemble the unit by gluing the original tape straps to itself and re-install in the amp. Works perfectly. An interesting feature of this reverb equipped amp is you can turn the volume all the way down and turn the reverb all the way up to get some very unusual spacey cavernous sounds with residual voltages on the reverb

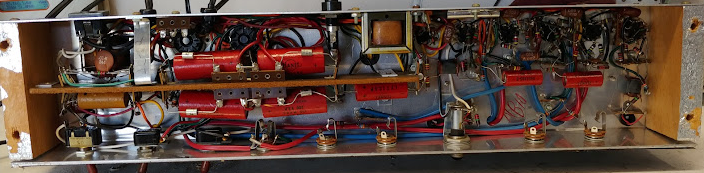
Circuit Repair
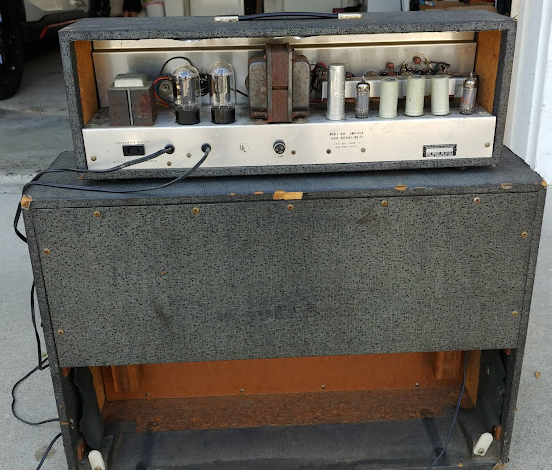
When received it was suggested that the OT had failed and that was why the amp volume was so low. This was not correct the OT was fine. Repair summary include replacing V3 plate resistor that had failed. Upgrading two V5 plate resistors. Replacing tube V2. Adding a 3 prong and removing ground switch and death cap. Adding one input shunted jack and output jack. One speaker was reconed. That is it. Great sounding amp.
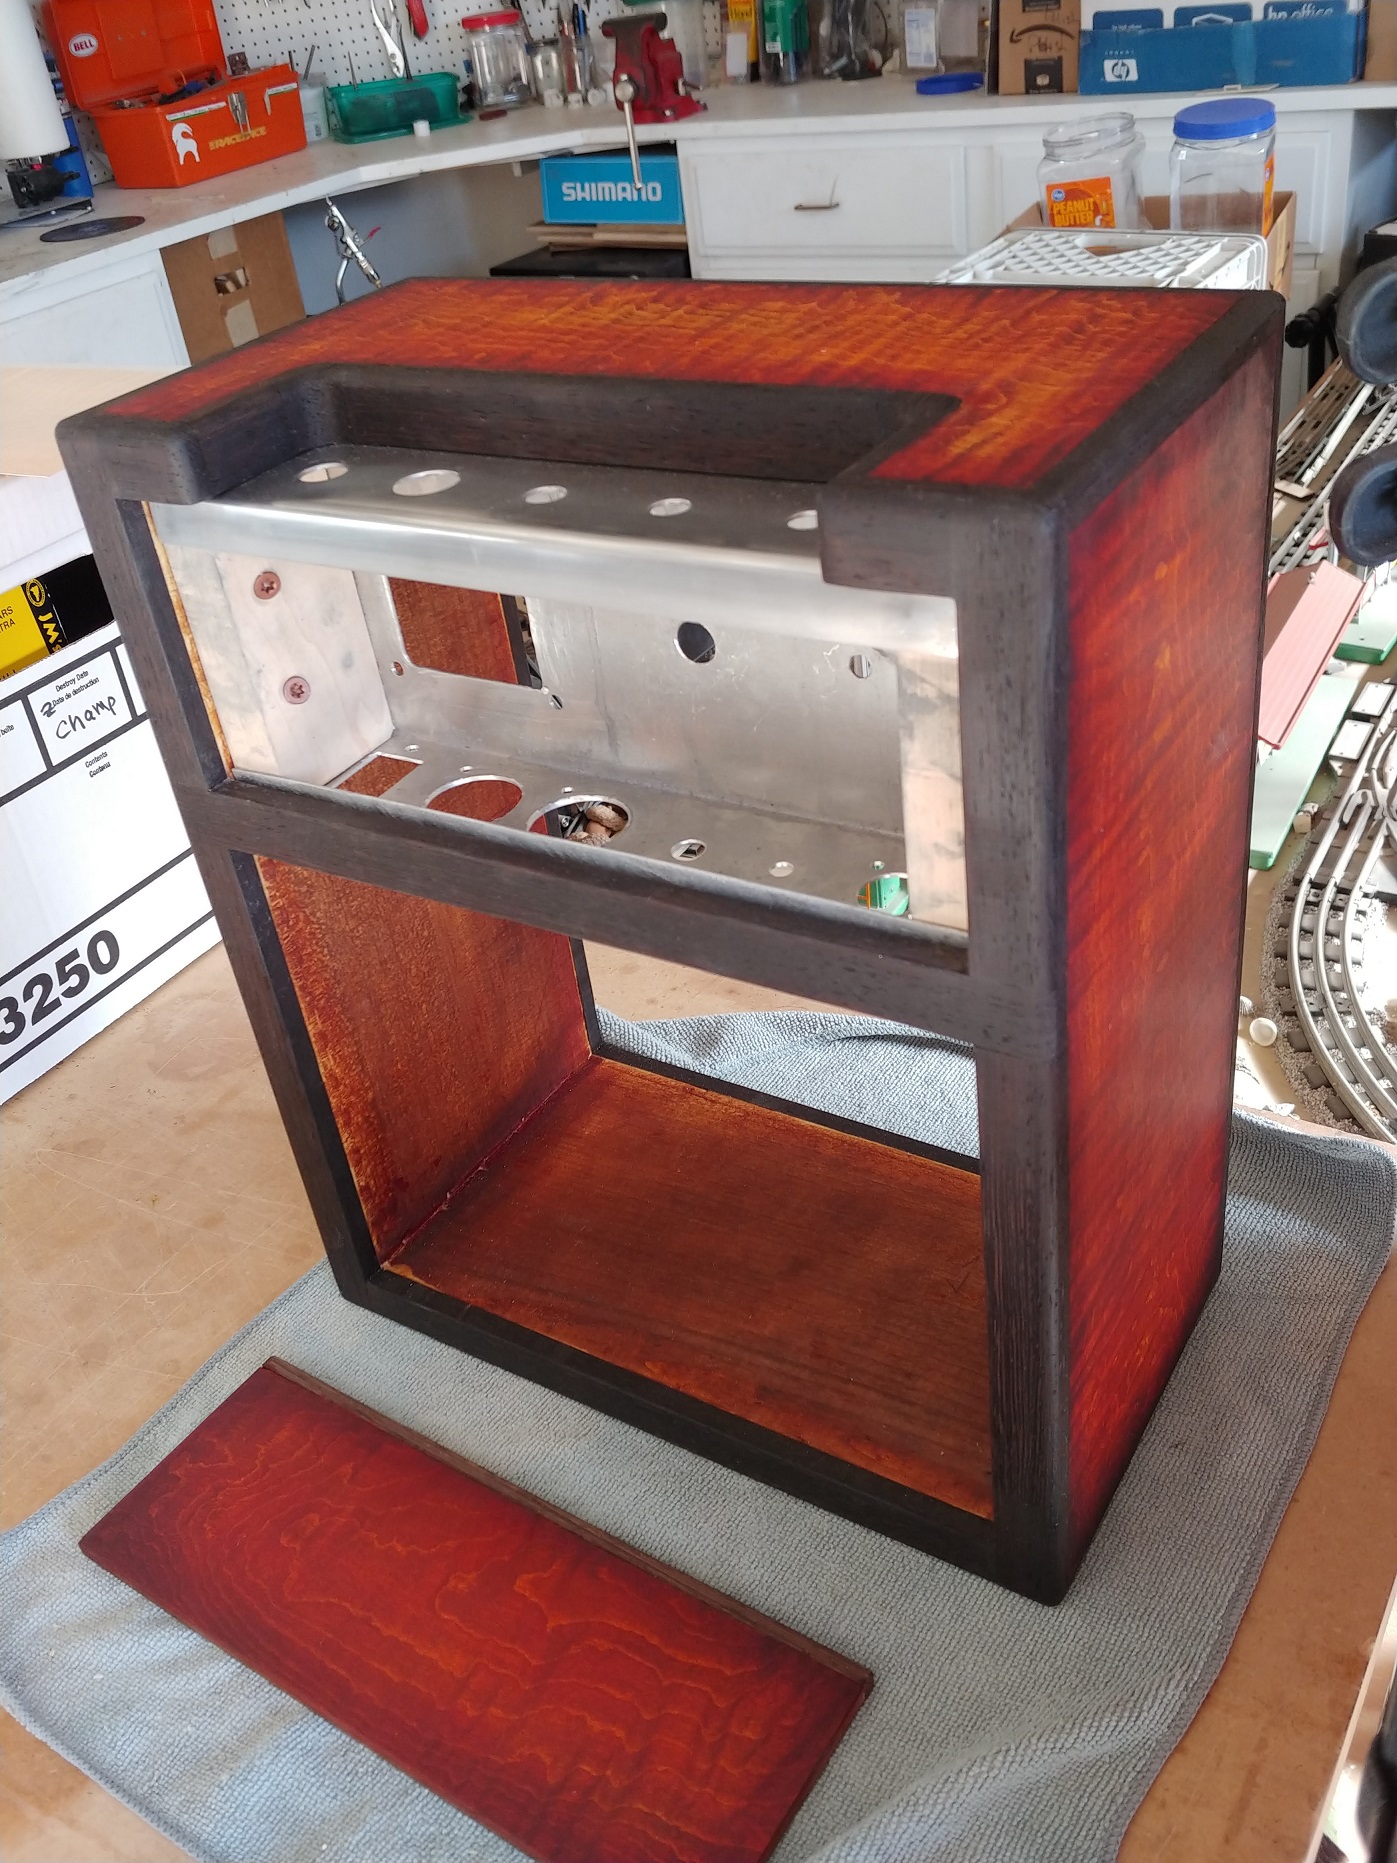
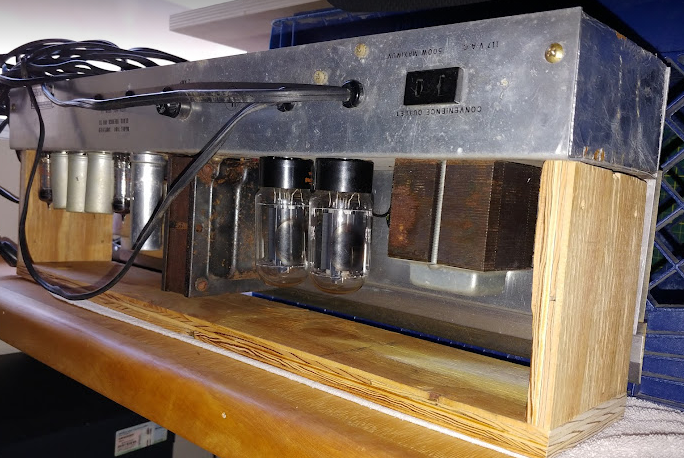
The Chassis Stand was made from scrap lumber designed to hold the chassis upside down to allow circuit testing and repair and to avoid interfering with any top side components.

The first order of business is to make this amp electrically safe so the ground switch and death cap are removed (switch left in place for continued good looks). Then a 3-prong AC cable is added and the fuse is moved from the neutral side to the line side. The convenience outlet was left in place as a nice to have for connecting the pedal board. A shunted speaker jack is also added. Since there was no AC hum the filter caps were left in place for the time being.
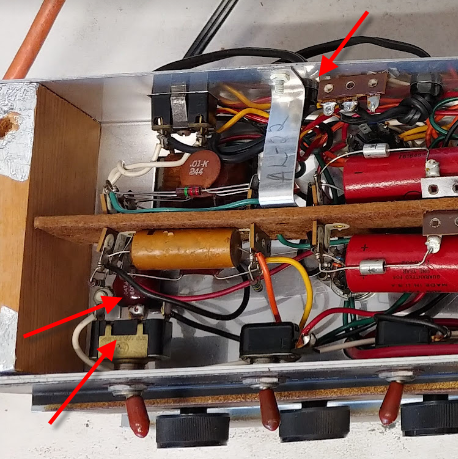
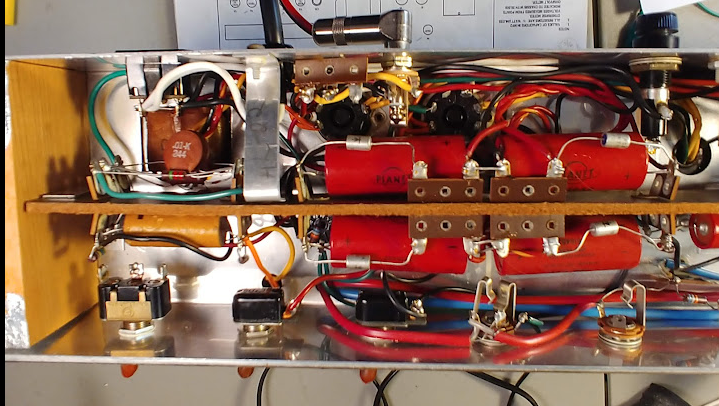
The next problem was the low volume. After some troubleshooting it turned out that R34 on V3 was bad. That corrected the problem. This was also a good time to upgrade R$45 and R46 to 1watt values on Reverb Drive Tube V5. More detailed discussion on this forum.
https://el34world.com/Forum/index.php?topic=26406.msg288863#msg288863
All the tubes in this amp are original Silvertone brand which is a rare find. Unfortunately It turned out tube v2 was bad and when replaced it fixed many of the performance issues. Will keep looking for a period correct Silvertone 12ax7.

Input Jack
Channel two input jack was replaced with a shunted jack to eliminate the noise created when a guitar is not plugged in. Amp is now very quiet.
Line Cap and Switch
This amp had a capacitor switched from AC to ground. In theory to reduce hum and protect the user from shock. In practice a very unsafe situation if the capacitor were to fail. A safe solution would be to use an X-Y safety cap designed for line to ground, however in this amp the cap and switch were disconnected in line with modern safety practices.
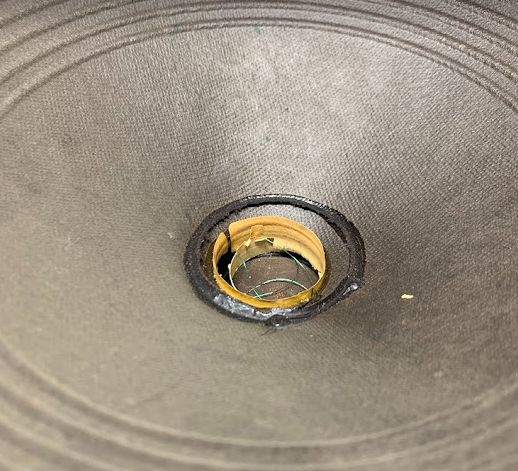
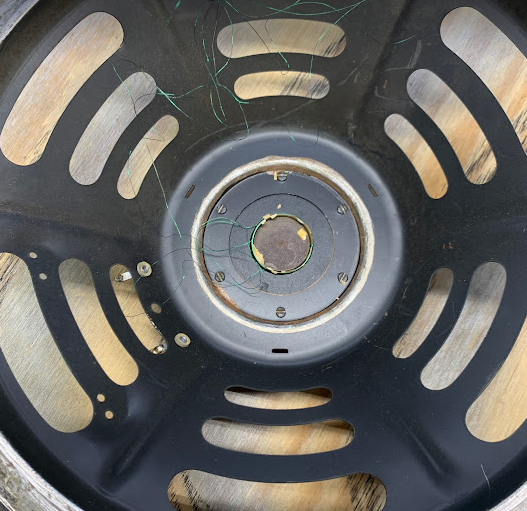
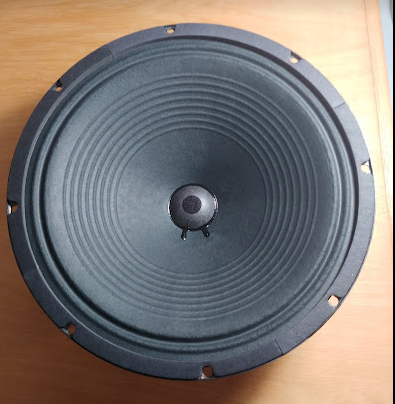
Speaker Repair
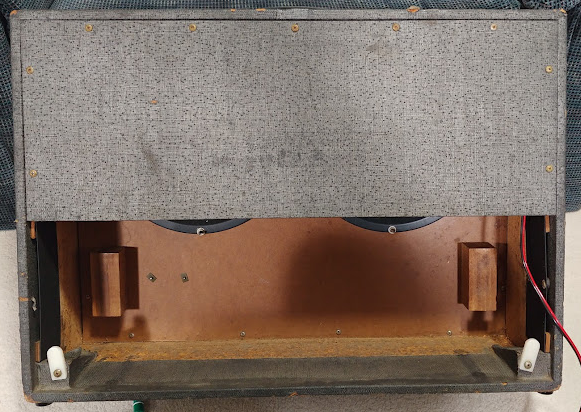
After Circuit repairs the amp played pretty good and was quite loud. But something seemed off. When and ear in front of each speaker it was apparent that no sound was coming out of one of the speakers. It was removed and taken to Speaker Repair Pros in Garden Grove when they removed the dust cap it was clearly apparent that this speaker had a problem. In a couple of weeks it was repaired as good as new. After install the amp sounded even stronger. Rewiring this speaker provided a good opportunity to replace the wimpy factory speaker cable with a new long length with a new angled Switchcraft plug. A jack was also added to the cabinet so the head could be separated and even played through a different cabinet (or vice versa).


Cabinet Repair
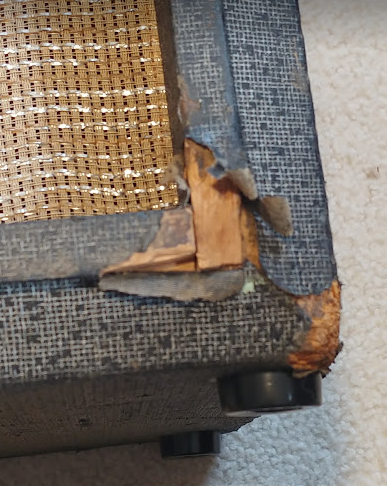
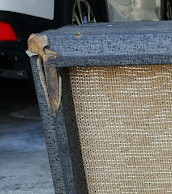
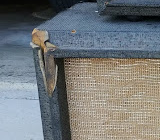
The cabinet had many scars from years of living and playing. Makes me think that it was a travelling amp and not a stay at home amp.

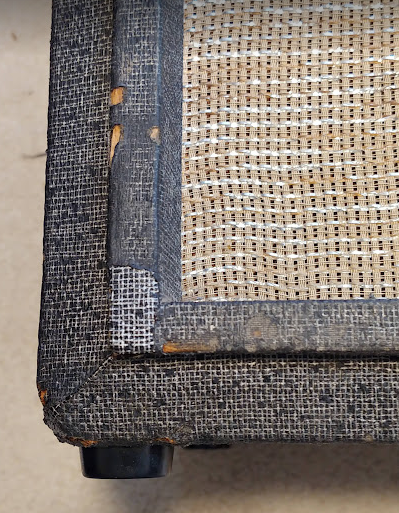
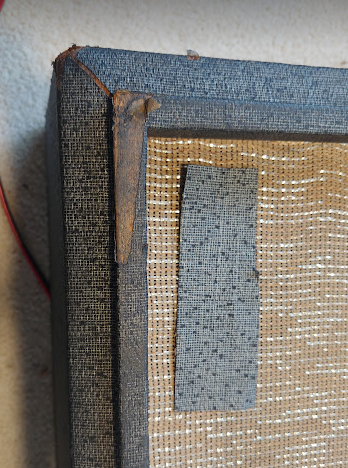
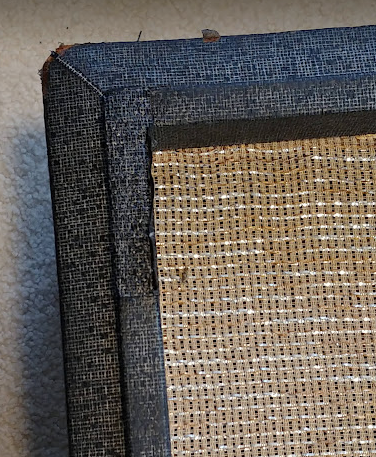
Here is the lower right front corner repair. All of the repairs follow this same basic approach. Carefully peel back the tolex in the area of the damage. Fill missing wood with putty. Glue small pieces of tolex harvested from an inconspicuous area inside the cab over the scar. Glue the original tolex back in place over the “new” patch. Since the harvested new tolex was inside it did not have the same patina as the patched area so a dark ebony wood stain was dapped onto the new patch until it matched the surrounding area. Looks really good.
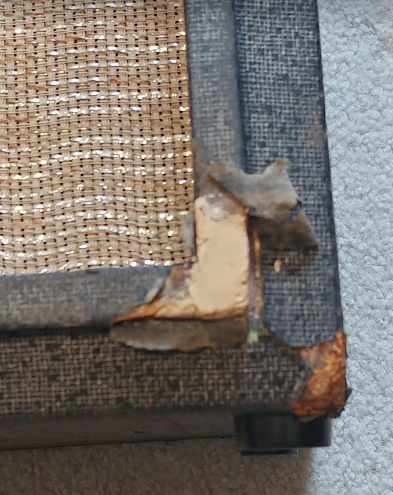


Lower left front corner
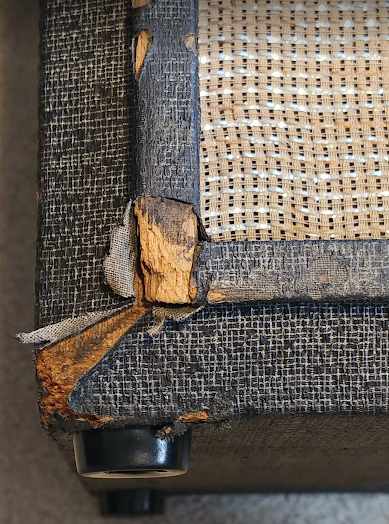

Upper left front

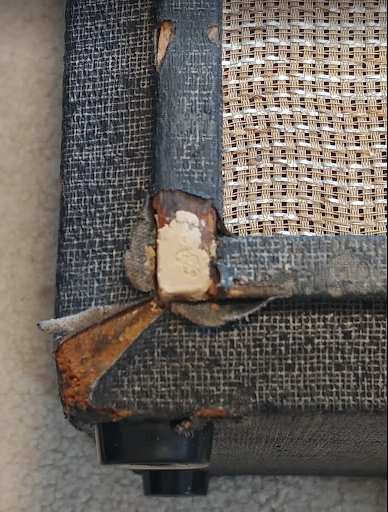
Upper Right Corner


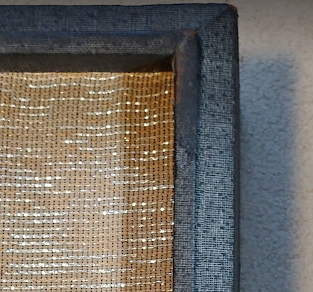
Wow this cabinet came out really nice
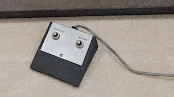
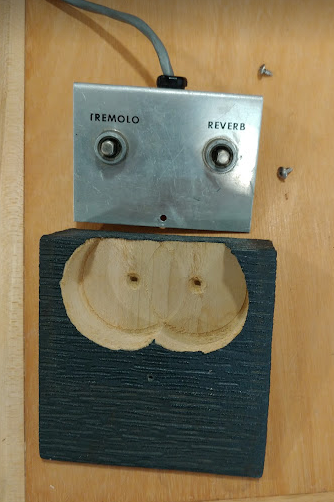
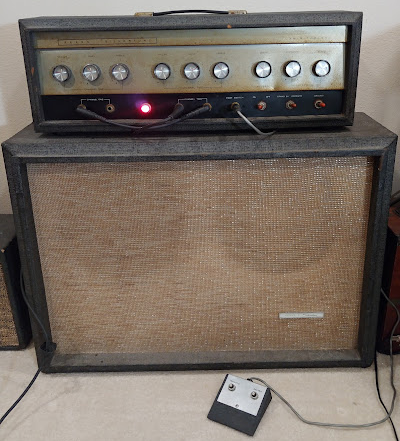
Footswitch
The amp did not come with a footswitch. But when I posted on the EL34 forum that I was looking for one, a fellow offered a Danelectro footswitch that he had. It only cost me the shipping and it matched pretty well. Originally, I thought one of the switch was bad, but it turned out that I just needed to replace the plug with a stereo plug and it worked juts fine and matches the cabinet tolex pretty well.