Philco “Brownie” Champ
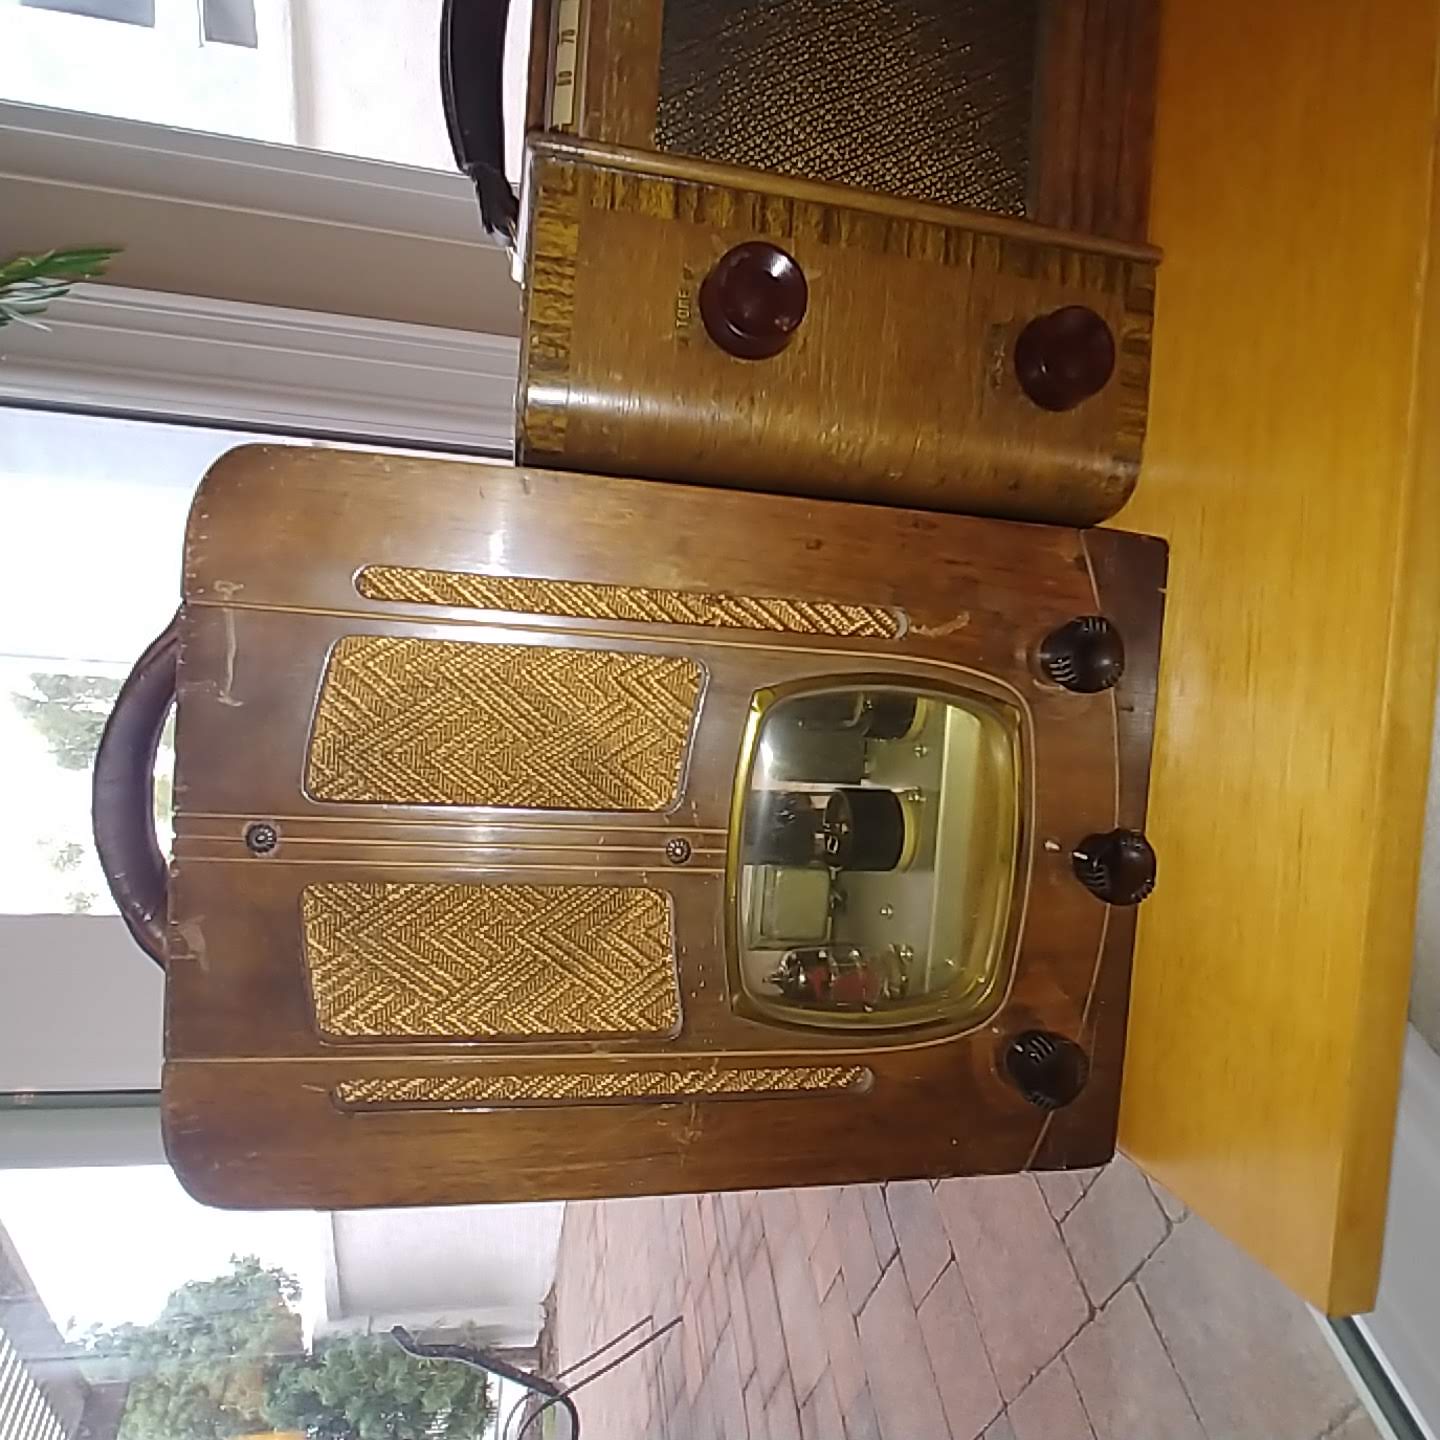
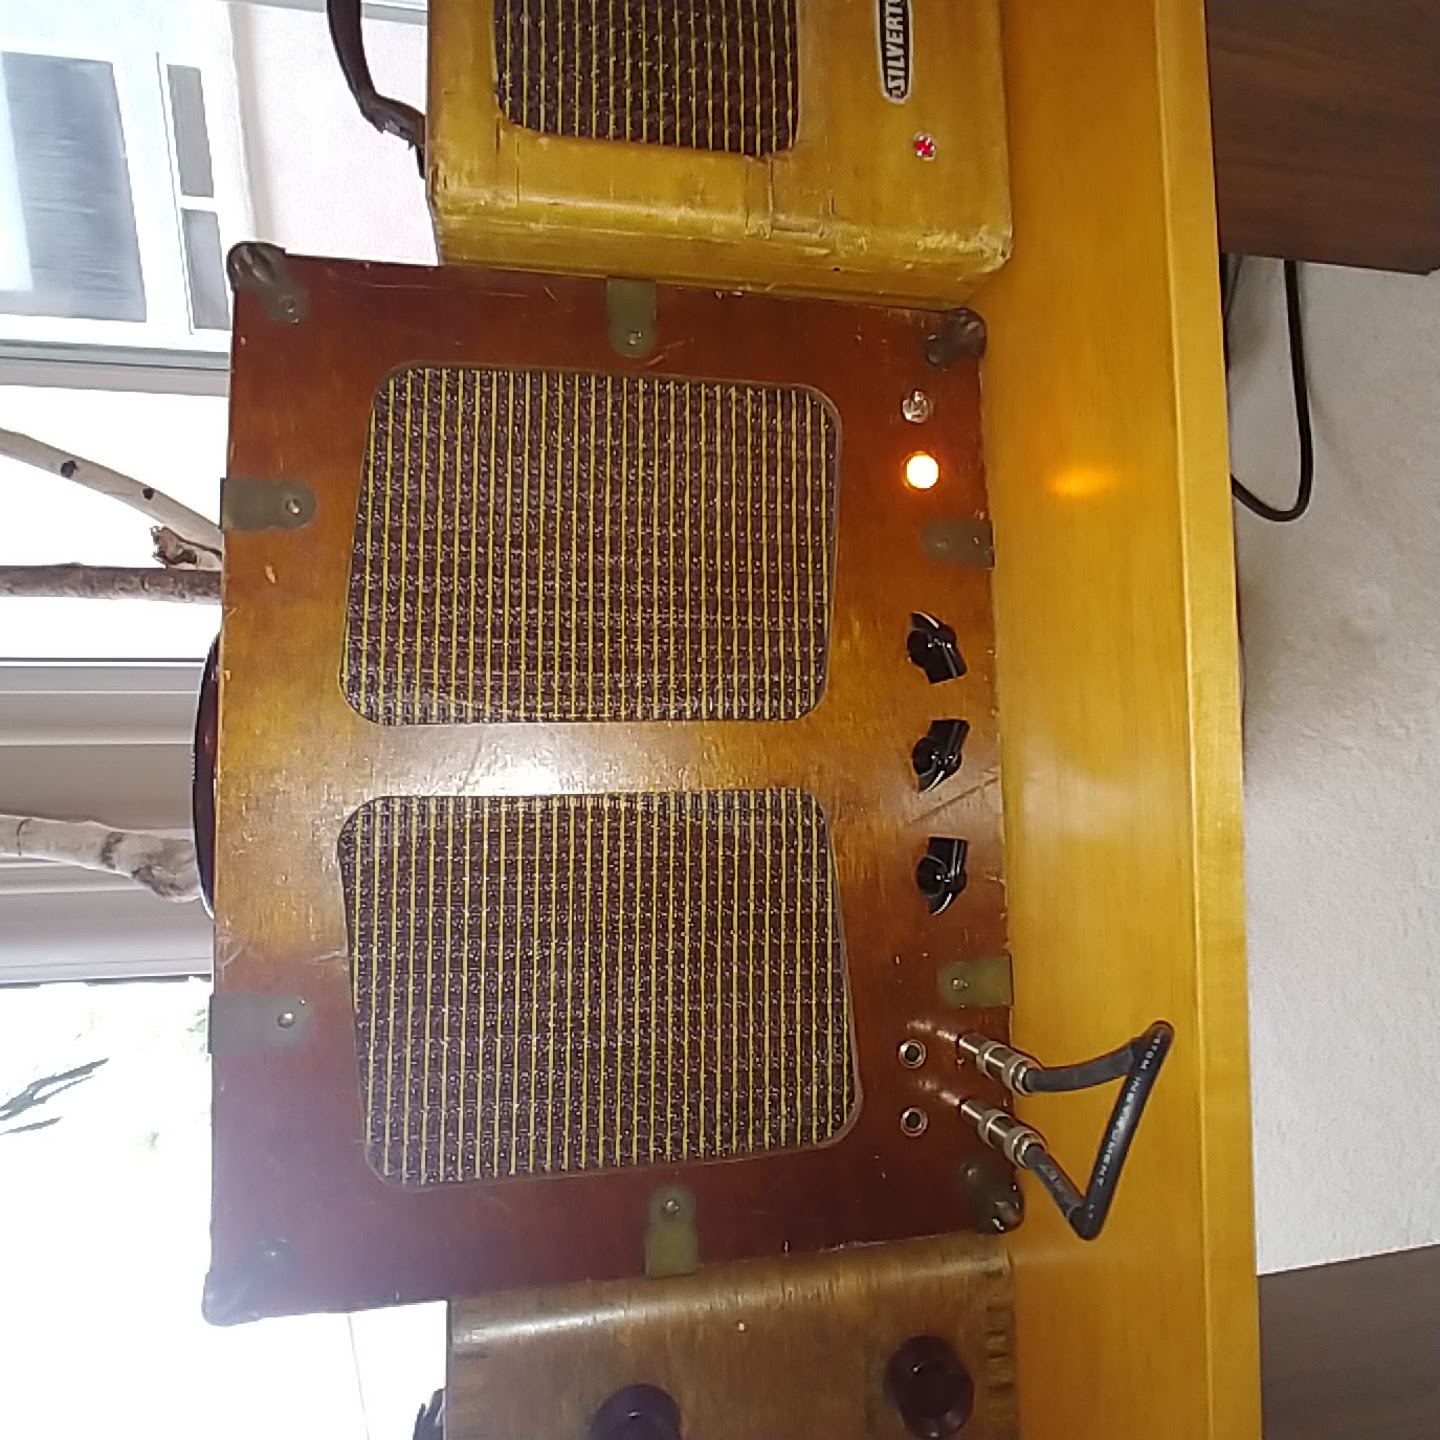
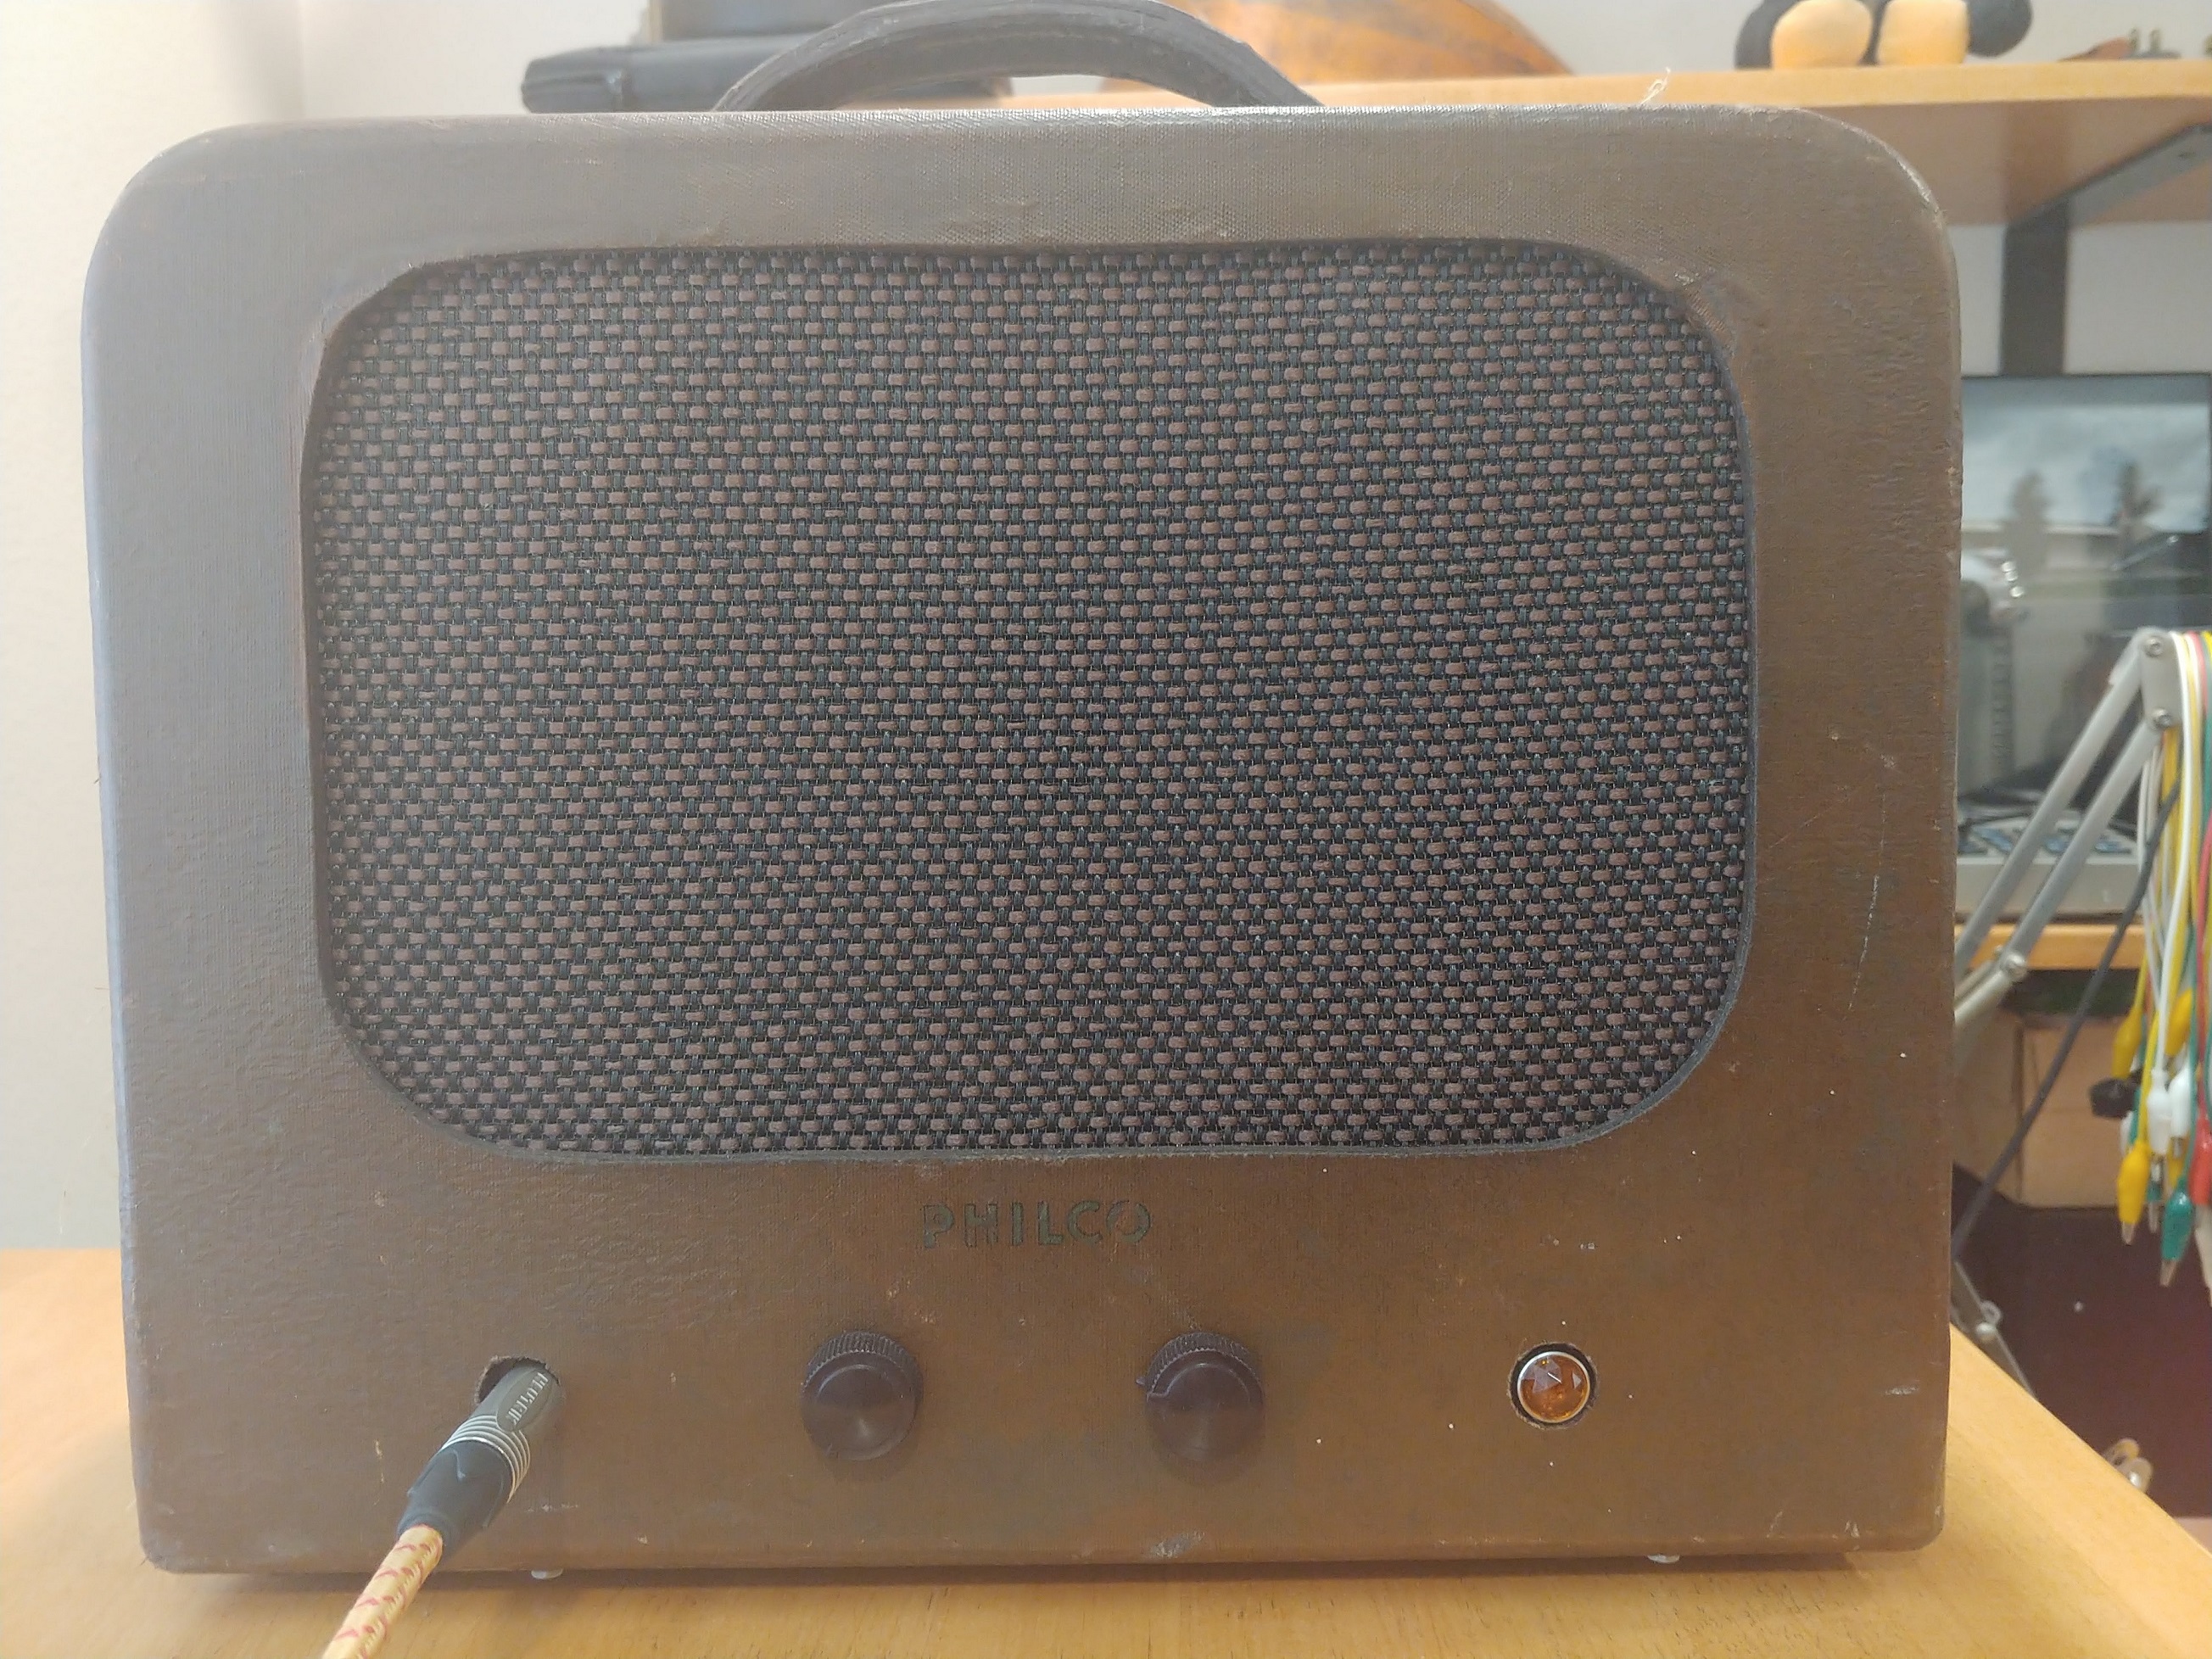
The Brownie Champ is a classic tweed guitar amplifier built into a great old 1940 Philco radio cabinet and chassis. The setup has all the sound and tone that you would expect from a 50’s tweed guitar amp. The amp features an 8” Warehouse Guitar Speaker (WGS) ceramic speaker and uses the Tweed F51 Fender Champ circuit from the 1956 era. It includes a master volume and an external speaker switch to allow any speaker cabinet to be connected. There is also a three-way switch to provide 1) normal 5F1 negative feedback (NFB) loop, 2) remove the NFB for a more gritty sound and 3) add additional NFB for more clean headroom than normal. This amp sounds really great producing warm tones and gritty drive expected from a vintage tweed and looks the part with natural “leatherette” patina that can only be accomplished through normal use over the years. Modern speaker, transformers, tubes and electronics give the amp the durability and performance ready for years of use. Brownie is build serial number 8 from StillAmp'd.
The Radio
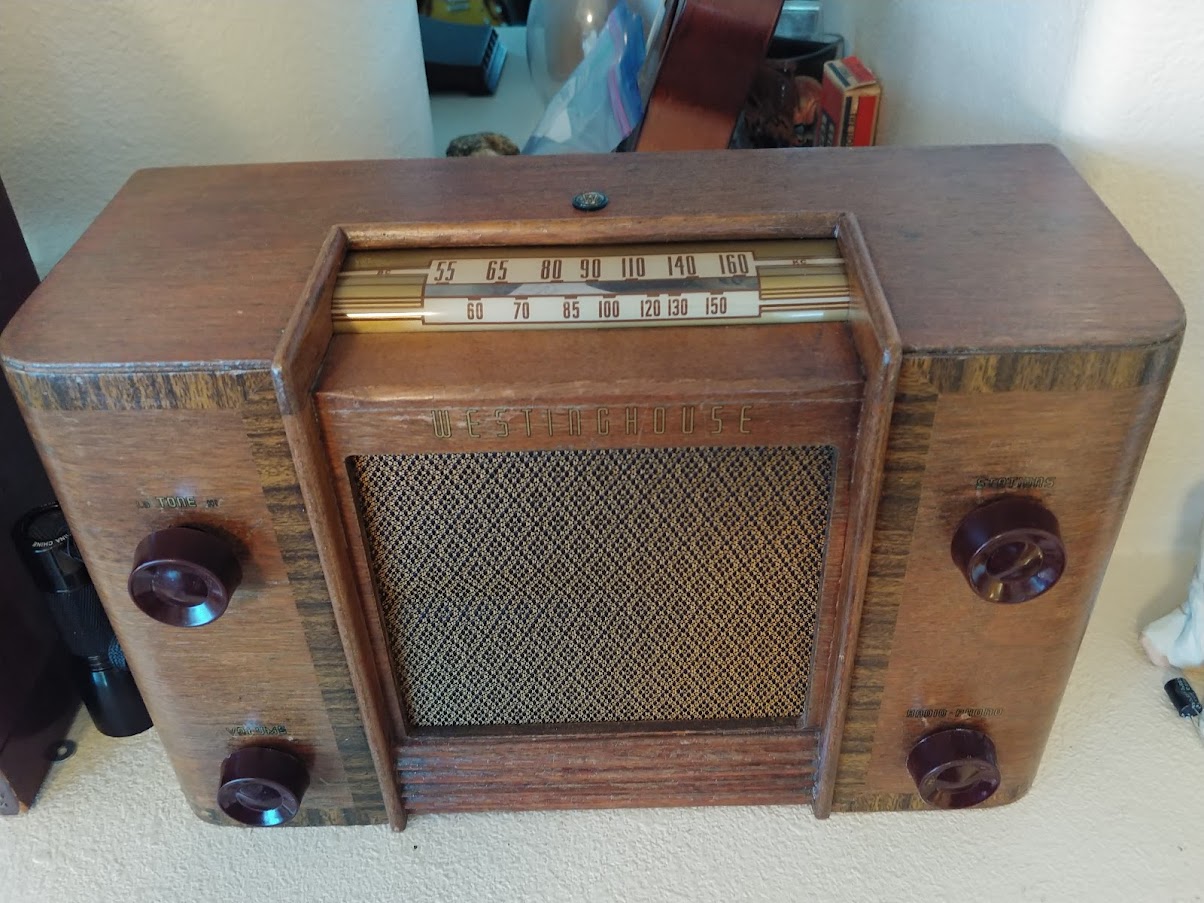
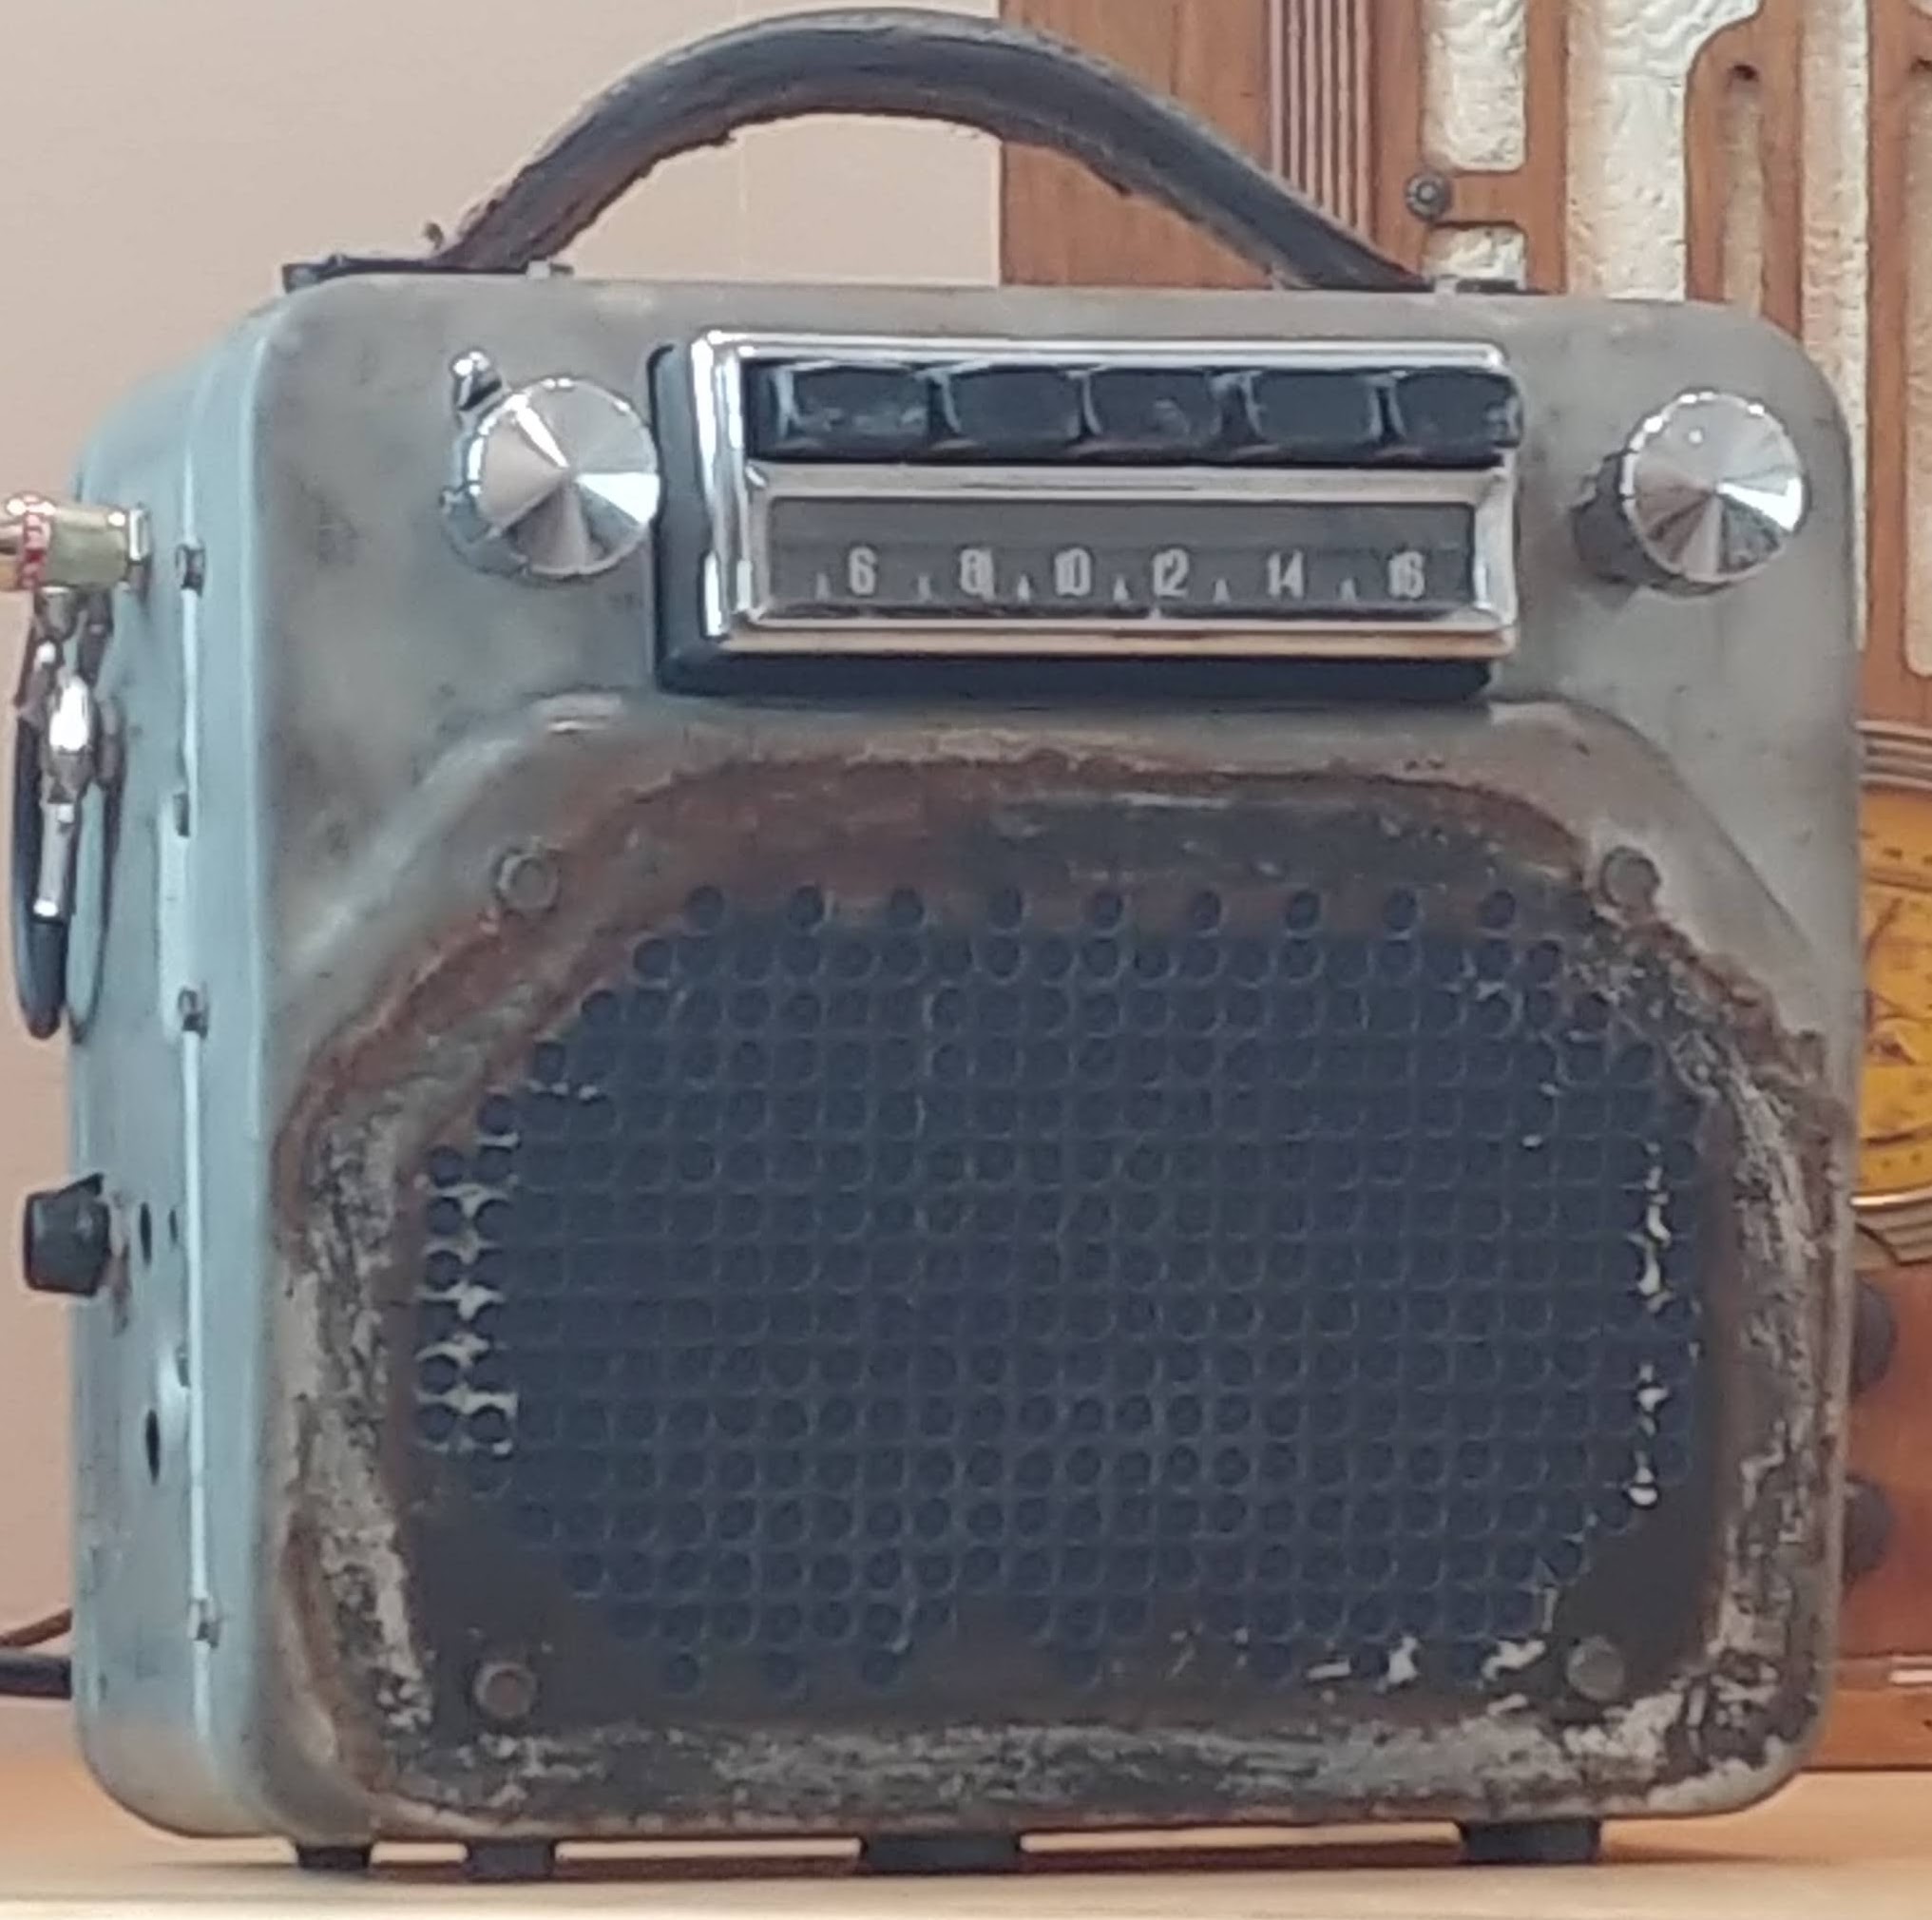
A 1942 Philco 42-842 was a portable radio that was battery powered. The radio was a 7 tube radio that was AM band only. Some of the tubes were 7-pin Loctal.
https://philcoradio.com/gallery2/1942a/#Model_42-842T
Original Radio Schematic
http://www.nostalgiaair.org/PagesByModel/557/M0013557.pdf
This particular radio was found for a very good price on ebay. It suffered from the “shrinking escutcheon syndrome” as many of these radios of this period had. It was judged to be not easily restorable as a radio and so was decided to become restored as a guitar amp. The cabinet, handle, chassis and knobs will be used in the guitar amp build. All other parts will be repurposed as parts for another radio restoration project.
The inspiration
Fender Champ 5F1 is the circuit of choice although there will be modifications: a master vol;ume will be added, a single guitar input will be used and a switched output transformer will allow 4, 8, 16 ohm speaker impedances. The amp will drive an 8” WGS speaker. The ebay radio was a mess and did not meet a standard for radio restoration. Being a battery radio the cabinet was large enough to fit the 8” speaker.
Gutting the Radio
To prepare for building the guitar amp, the original radio needed to be gutted.
Everything was removed from the cabinet and chassis, cleaned and sorted. These parts will be repurposed for other radio repair projects. Only 5 of the 7 tubes were received with the raio when purchased.
Cabinet Repair
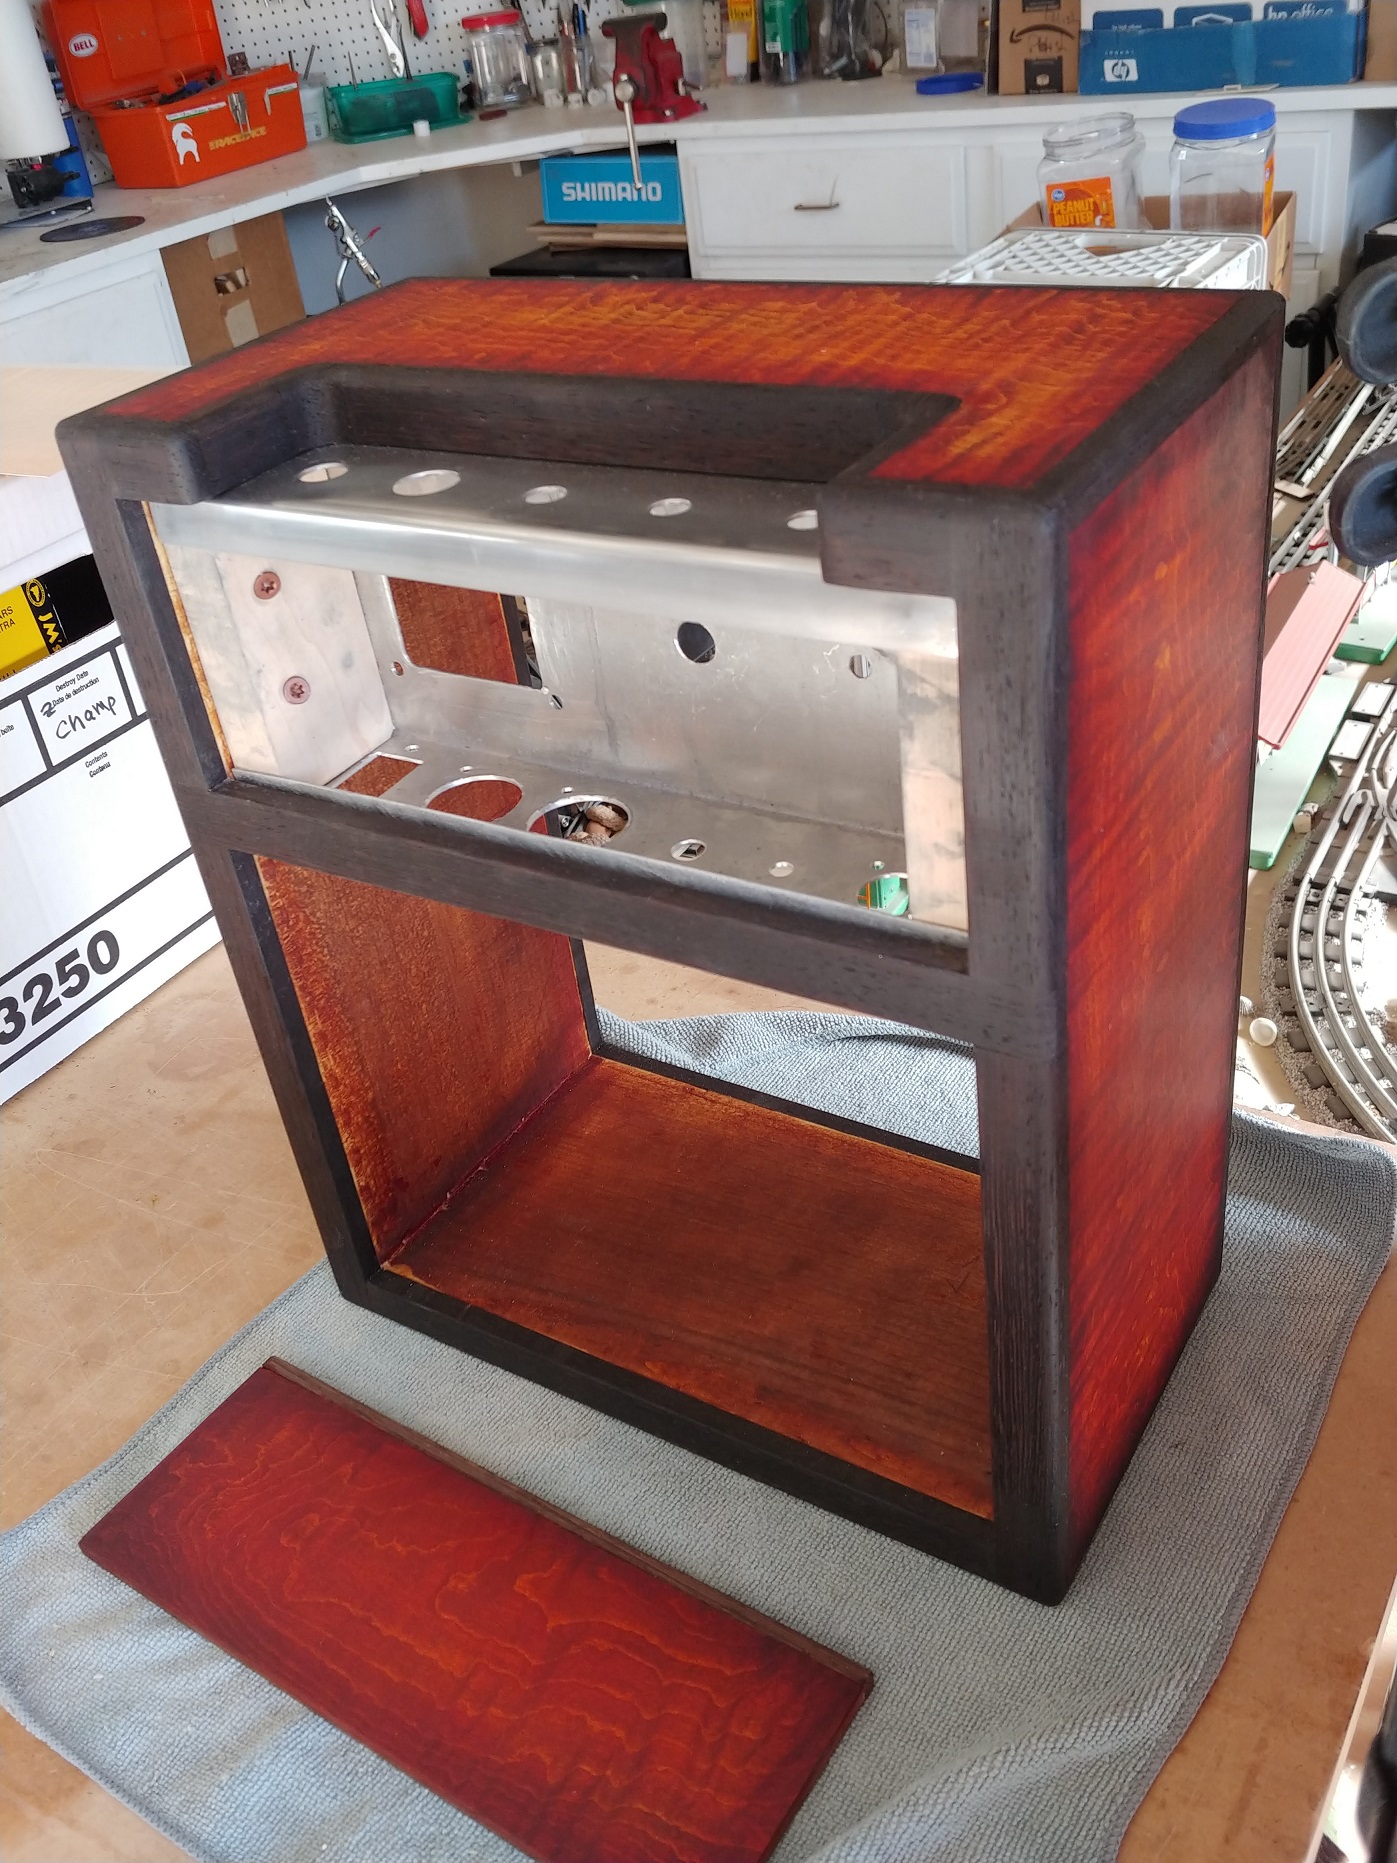
The original radio cabinet was dirty, flimsy, loose and had a wooden chassis shelf and supports that had to be removed. The front panet was way too thin to hold the speaker baffle so a ⅛” plywood reinforcing panel was fabricated and glued in place. Corner braces were glued tight and the back panel sticker reglued. The back cardboard panel had warped over the years, so this was wetted and then clamped between two straight boards, after drying the back panel was straight. Now the latches are tighter with less likely to rattle when the amp is being played/
After the cabinet was repaired the speaker opening was cut out and the upper corners repaired where the original screw holes were. To provide additional cooling for the electronics and vacuum tubes the back panel was opened on either side. A nice clean look reminiscent of Fenders TV front amps from the early 50’s.
The back panel is hinged with spring latches to hold it in place. The panel needed to have a cooling opening cutout but before the cut, the original paper label with the radio layout needed to be removed. This was accomplished with water and patient scrapping, although steam might have worked better, The label might find its way into the inside of the cabinet modified as brownie guitar amp. The cutout was done to match the two existing holes which started at the top of the chassis and extended up to the top of the tubes, perfect for good heat removal plus the AC power cord can come out of the large cutout or through the original notch on the side.
Speaker Baffle
In order for the heavy duty 8” guitar speaker to be properly supported for best sound quality a baffle needed to be fabricated out of ¼” birch plywood. This was cut to fit the inside of the cabinet perfectly and is mounted with screws to be removed in the future. The out facing side is painted black so not visible through the grill cloth. The in facing side is stained to match the cabinet insert. T-nuts #10 are installed to hold the speaker.
The baffle was stained inside to match the cabinet and painted black on the outside so it doesn't show through the grill cloth. The grill cloth is stretched and stapled in place. It was repurposed from another vintage project and closely matches the brown of the cabinet to give it a full "Brownie" look.
Handle Repair
The original handle had been damaged by years of neglect. The leather layers had separated and the top surface was missing sections. The edge binding thread had been worn away and the handle had a permanent fold caused by years of having seething stack on top.
Repair was straightforward. First, a small thin aluminum insert was fabricated and installed in the center of the layers on each side to provide support and remove the bend in the handle. Next each layer was separated and Tacky Glue was applied to each layer. Spring clamps were used to hold the layers together, any excess glue was wiped away.
Finally, any remaining layers were glued and a liberal application of vintage leather dressing applied. This fine vintage handle is now ready for years of new service in its new role carrying the Brownie Champ guitar amplifier.
Chassis
The original chassis is large enough for the components required in the 5F1 which includes the power Transformer, Output transformer and three tubes. Some of the original holes will be closed by brazing thin steel in place.
Taped up to remove a small section for the speaker fitment
All the new chassis holes are drilled and the parts laid out
Layout
The layout of the 5F1 circuit is artful, clean and elegant. The design is intended to minimize noise through good grounding and wire management. All of the hardware is reliced to match the chassis patina.
Circuit
The classic Fender Champ 5F1 circuit was chosen for a classic tweed sound. A rather simple circuit that is highly revered by many players as a great studio amp. But this little 5 watt amp can get quite loud in a home environment so it was decided to add a Master Volume to allow the output to be dialed back while still retaining much of the preamp overdrive.
Additional power supply filtering was added to the original 5F1 circuit in the form of a 33uf capacitor and 100ohm resistor. As suggested by the EL34 forum, this mod provides for lower noise and hum with minimal effect on tone and volume. As a result the Brownie is quite quiet.
The Negative Feedback (NFB) circuit is shown in the schematic and 6 NFB resistor layout below. Switch 1 is the output transformer impedance tap to allow a 4, 8, or 16 ohm speaker to be properly matched to the amp. Switch 2 is a 3-way switch that provides for NFB normal, extra clean and extra grit. The Normal setting (the lower switch setting) is as designed in the original NFB circuit (22k ohms for an 8 ohm speaker and then optimized for the 4 and 16 ohm speakers. The extra clean is the up setting which adds additional NFB resistance to provide for more clean headroom (higher volume setting without distortion). Extra clean NFB resistance is optimized for each speaker impedance. Extra grit is the middle switch setting when the NFB is switched out. The NFB and speaker impedance switches are accessed inside the back panel.
A beautiful cover for Brownie is constructed out of textured brown marine vinyl for great durability. It's perfectly tailored to fit the cabinet and is a great color match.
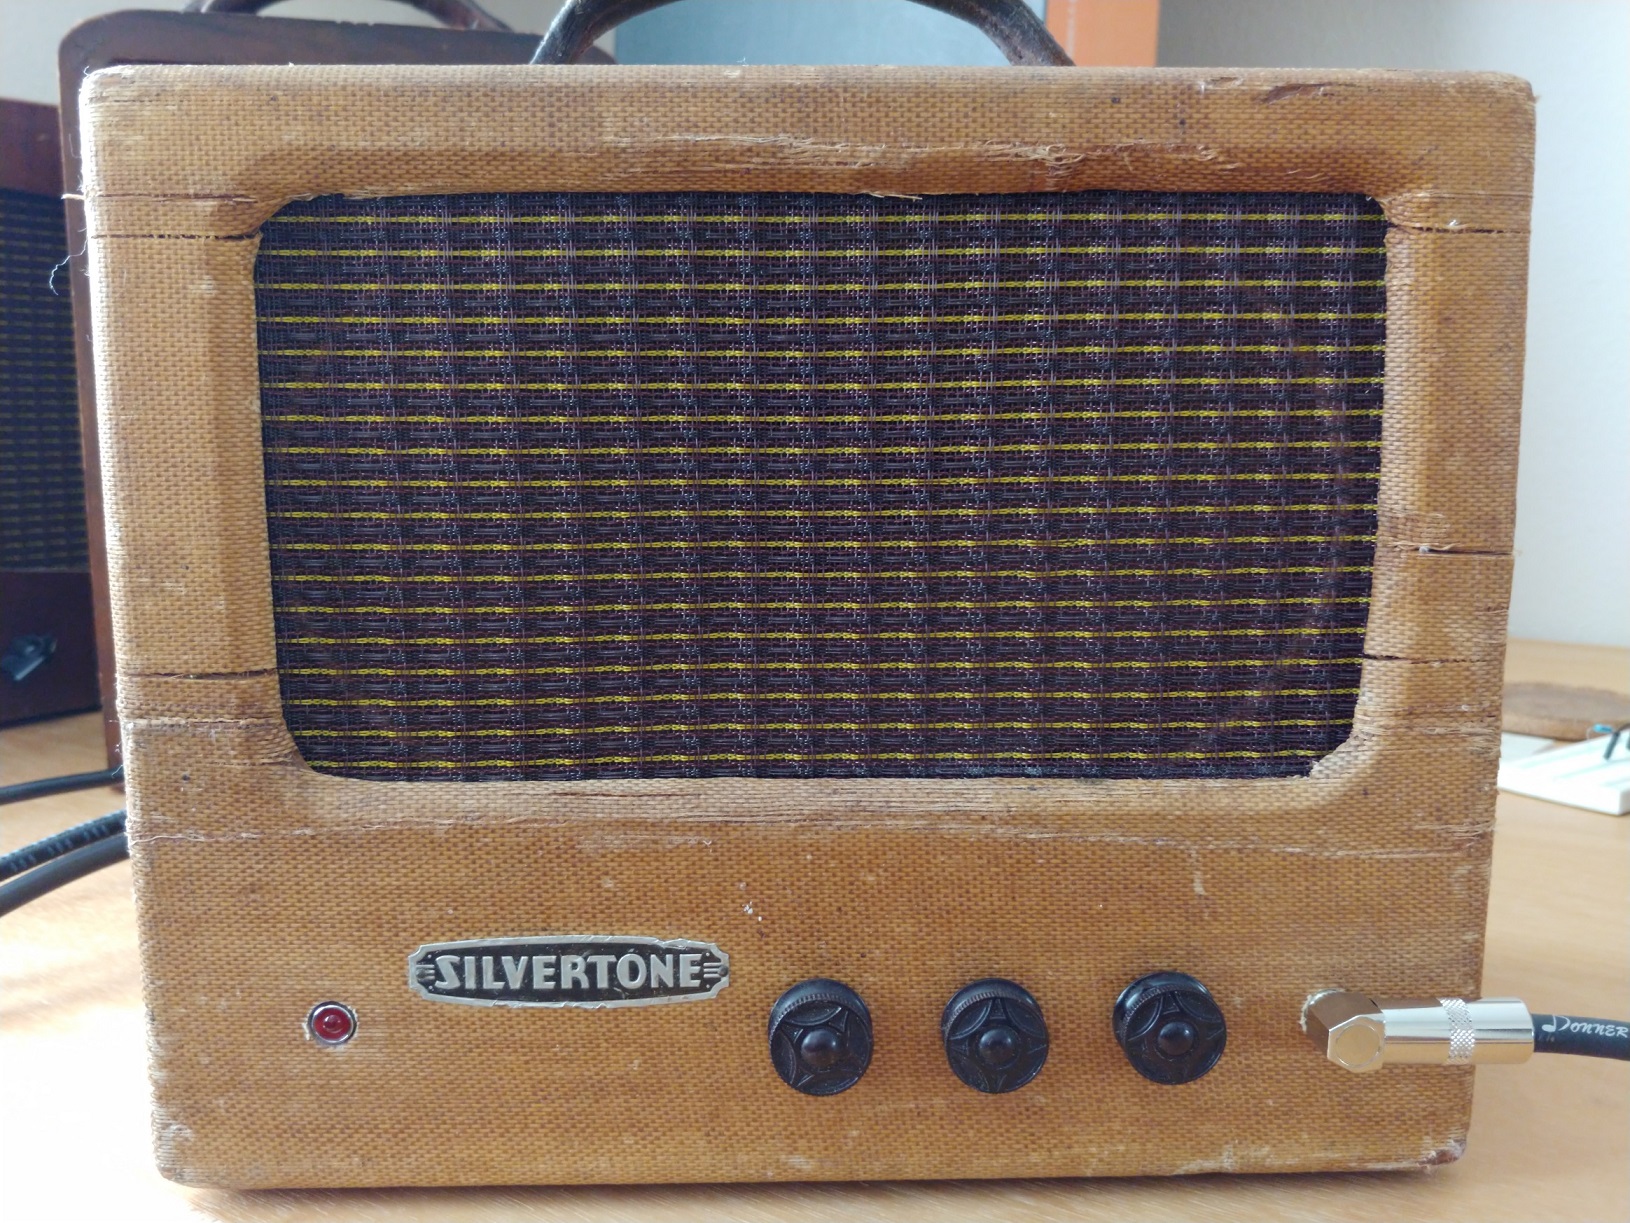
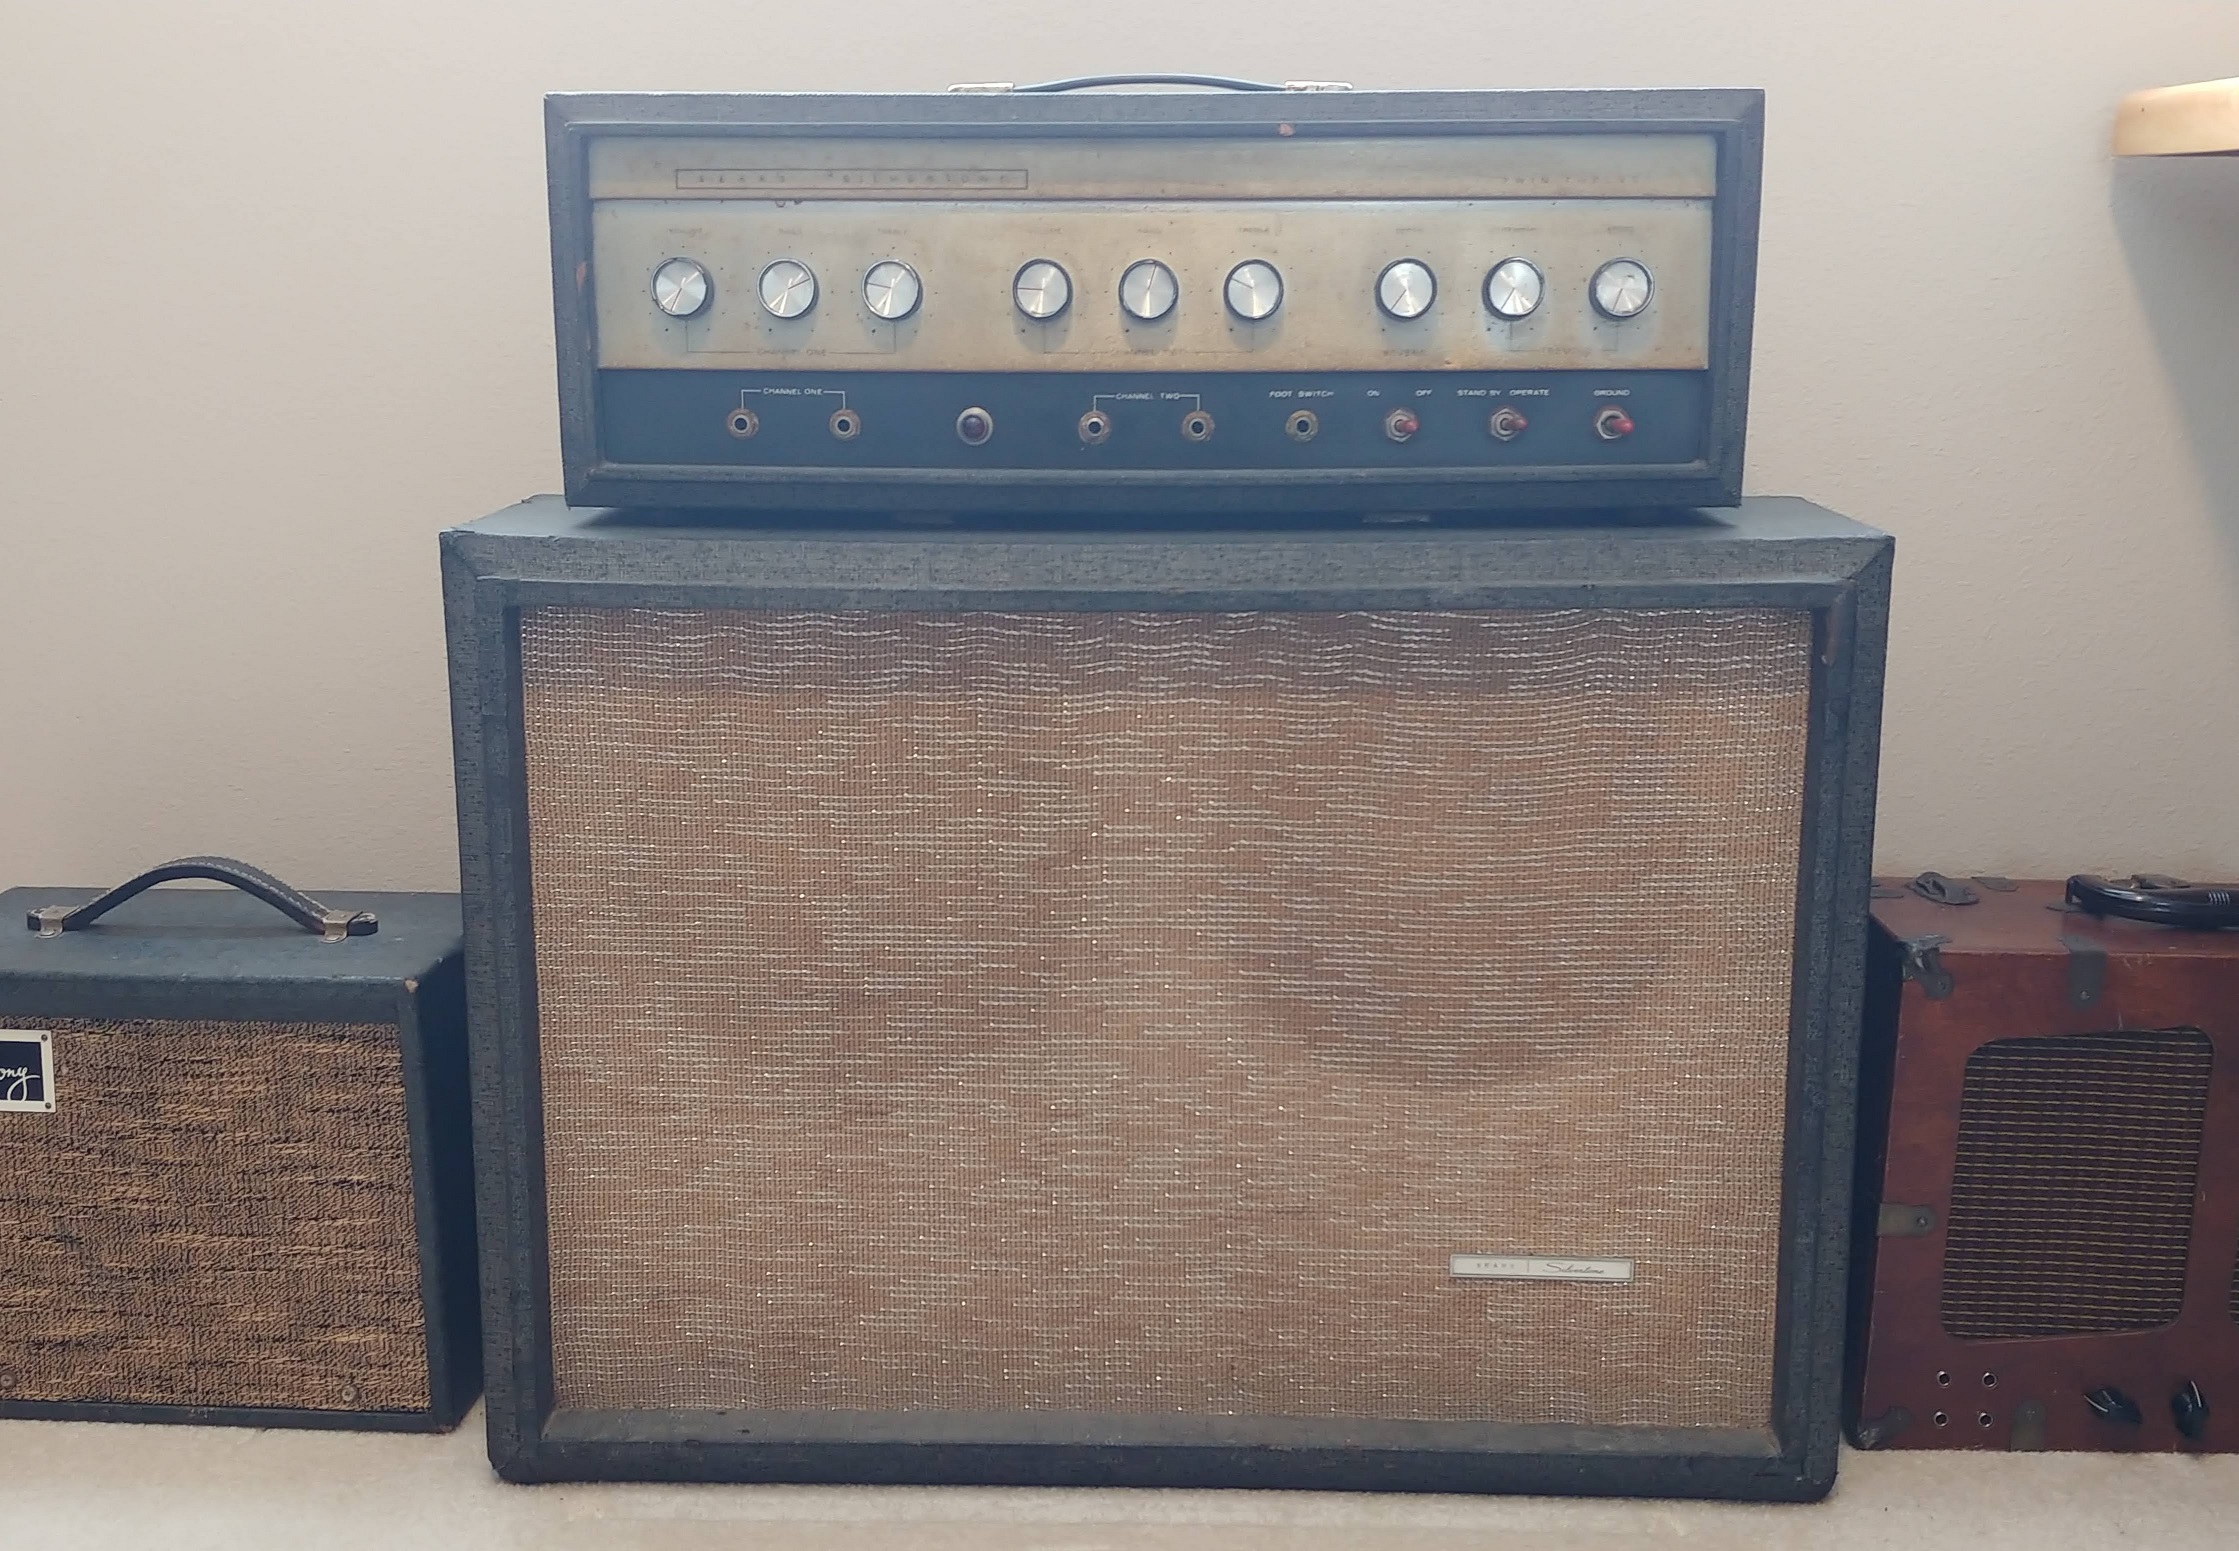
Brownie looks really good with its blonde sidekick (notice the reverse control plate)
