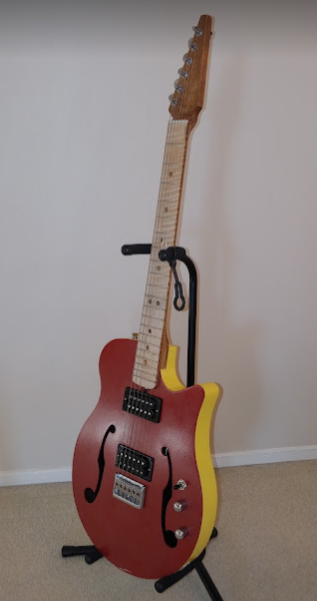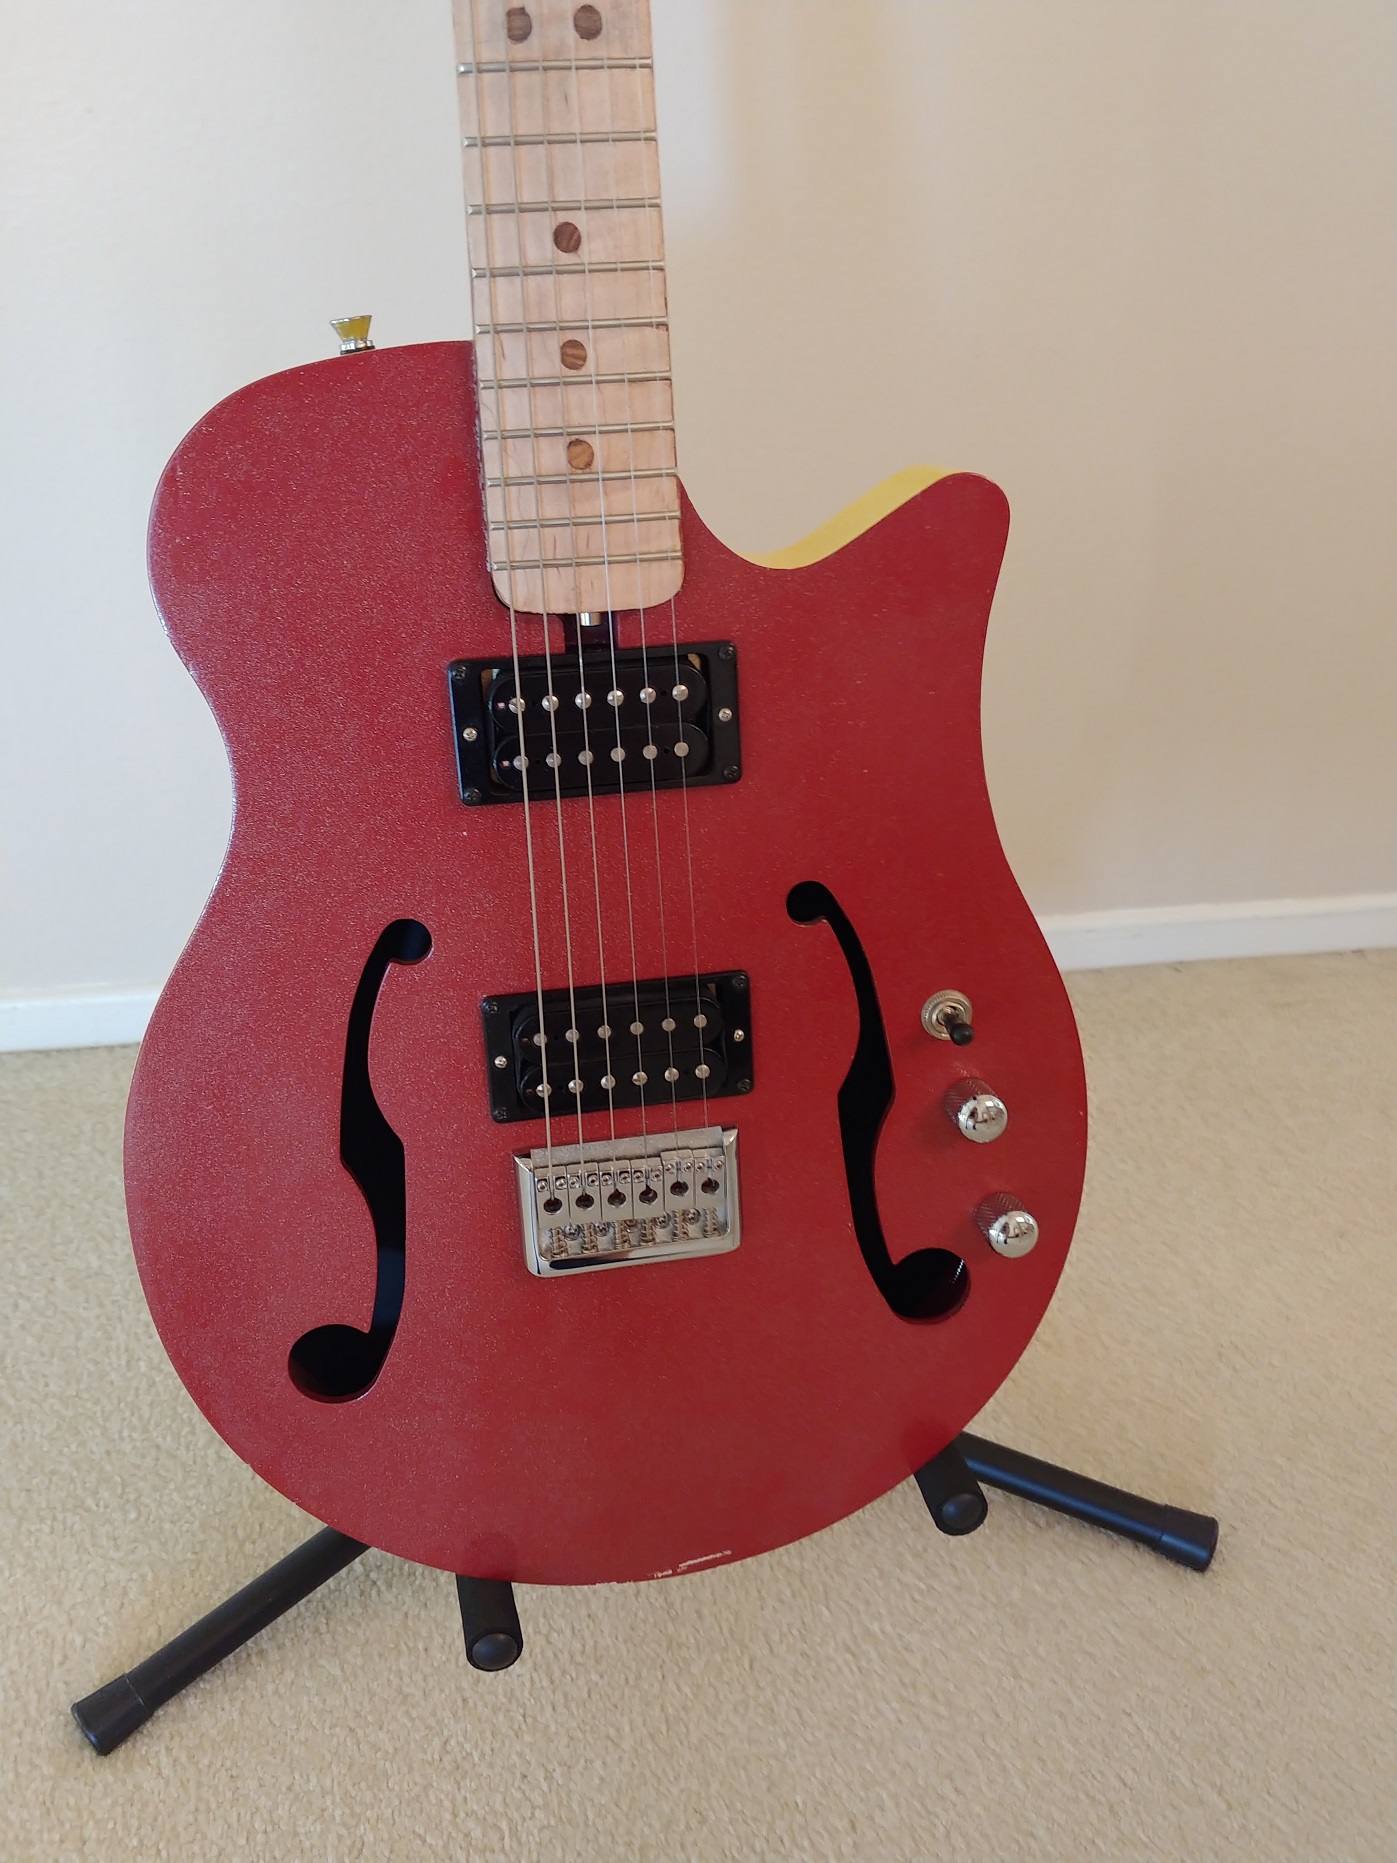
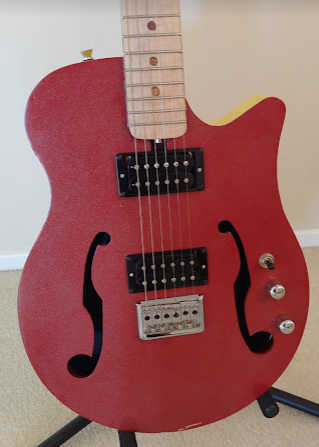
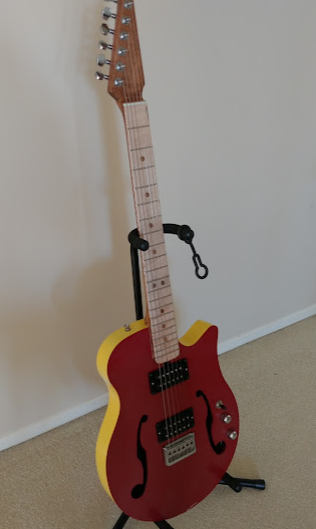
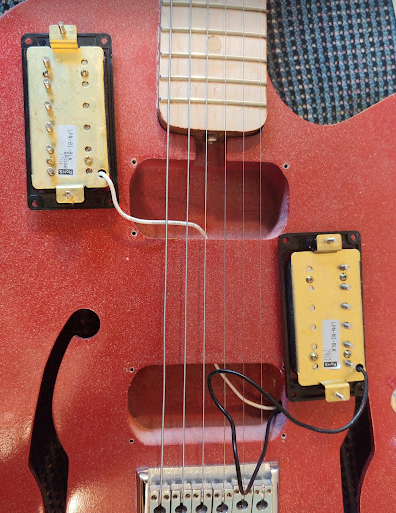
This guitar was made from a kit by Jacob as a High School Engineering project, painted with the colors "we had around" but ended up with a pretty funky look, somewhat reminiscent of the Danelectro guitars from the 60's. This one has a really nice vintage neck. Plays smooth and feels nice in your hand. The guitar is rather light and has great resonance being a semi hollow body. This guitar has dual humbuckers with a 3-way switch, a volume control and a tone control
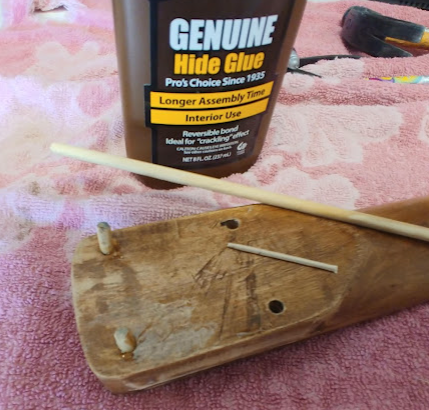
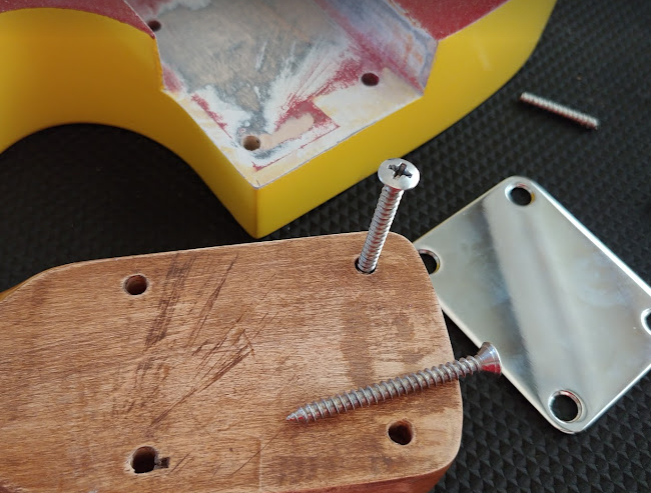
The kit came with poor parts and hardware, and one of the neck screws had broken and needed to be replaced. First step was to remove the neck and then extract the broken screw. Next the four screw holes in the neck were drilled and doweled to provide solid wood for the new quality stainless screws to be installed. The body neck pocket was lightly sanded to remove the excess paint and the neck surface smoothed for a nice tight wood to wood mating surface. Now the neck is solidly installed and transfers the sound between neck and body for a great sounding guitar tone.
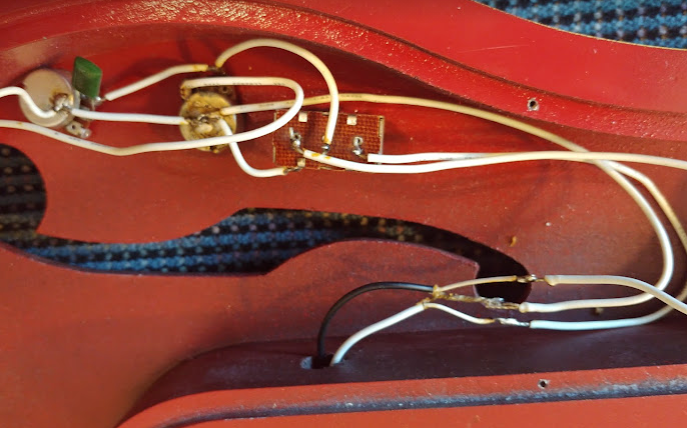
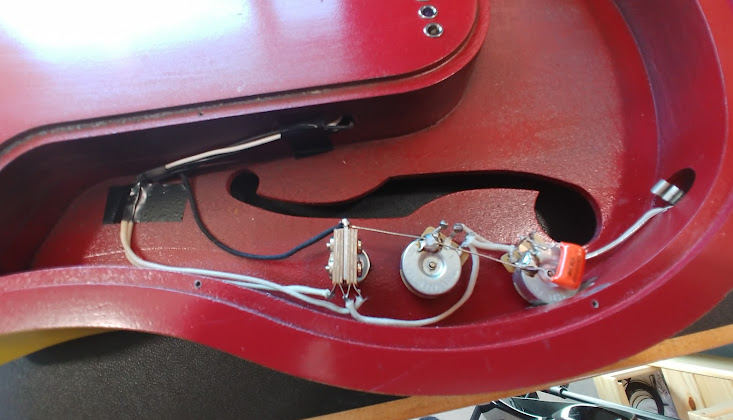
The original components and wiring were pretty marginal and a likely culprit for the excessive noise being created when amplified. In addition there was no ground from the bridge. These needed to be upgraded. The Bridge and Neck pickups were switched and this error in assembly was also corrected.
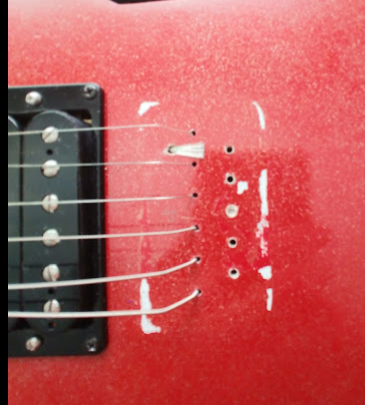
When the bridge was originally mounted it did not include a grounding wire. To add this would help in reducing the hum/buzz. The bridge screws were removed. When the screws were removed the bridge would not come off., so a slight tap with a mallet and punch helped knock it loose. The paint had slightly fused to the bridge.
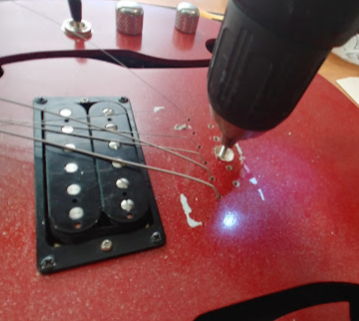
Next a hole was drilled from the top to the bridge pickup cavity and a wire was threaded thru. The wire was fanned out so that it would make good contact with the bridge when re-installed.
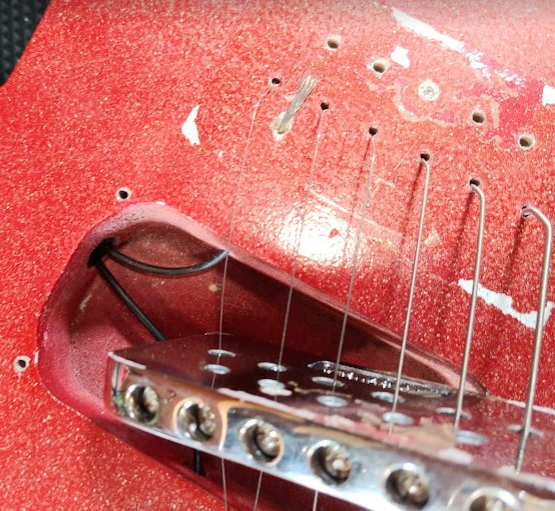
During the original build the center bridge screw broke off (another indication of cheap parts). This needed to be removed. So the wood around the screw stud was whittled away until the chuck of a drill could grip the stud and the drill reversed the broken screw out. A little wood filler in the whittled area and new quality stainless screws used to reinstall the bridge. Looks great and works good,


In order for the larger CTS pots to fit a notch needed to be made in the inside of the body. A demel with a sanding cylinder made quick work of this and the pot now fits perfectly.
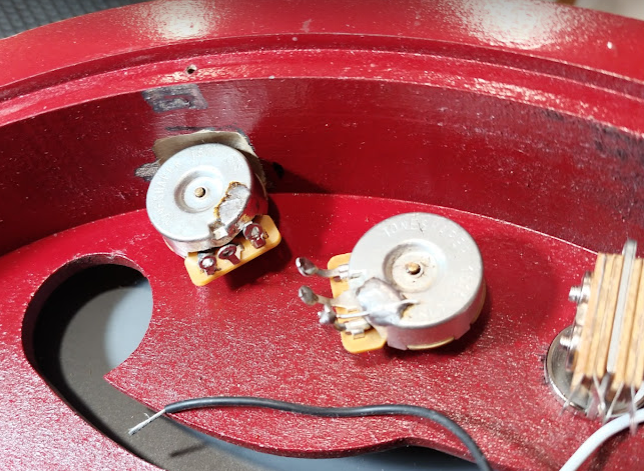
Wiring is complete with a new ,047 orange drop cap, vintage push back wiring, a new switchcraft jack, CTS 500k audio taper pots, and a new 3 position LP switch. All wiring is located out of the F hole view.
Some of the frets were causing some buzz so a little thin super glue was wicked in and the frets were clamped down with the appropriate sized cawls. The frets are sanded flat, crowned and polished for a great playality.


Finally the guitar was setup so that the action was set at about 3/64. Now it plays and sounds great. Very little buzz with the proper grounding scheme in place.

String trees were added to get the correct bend after the nut. This presents unwanted string vibration and is common on 6 on a side tuner headstocks (like strat and tele)